Coquetiers personnages
24/03/2022
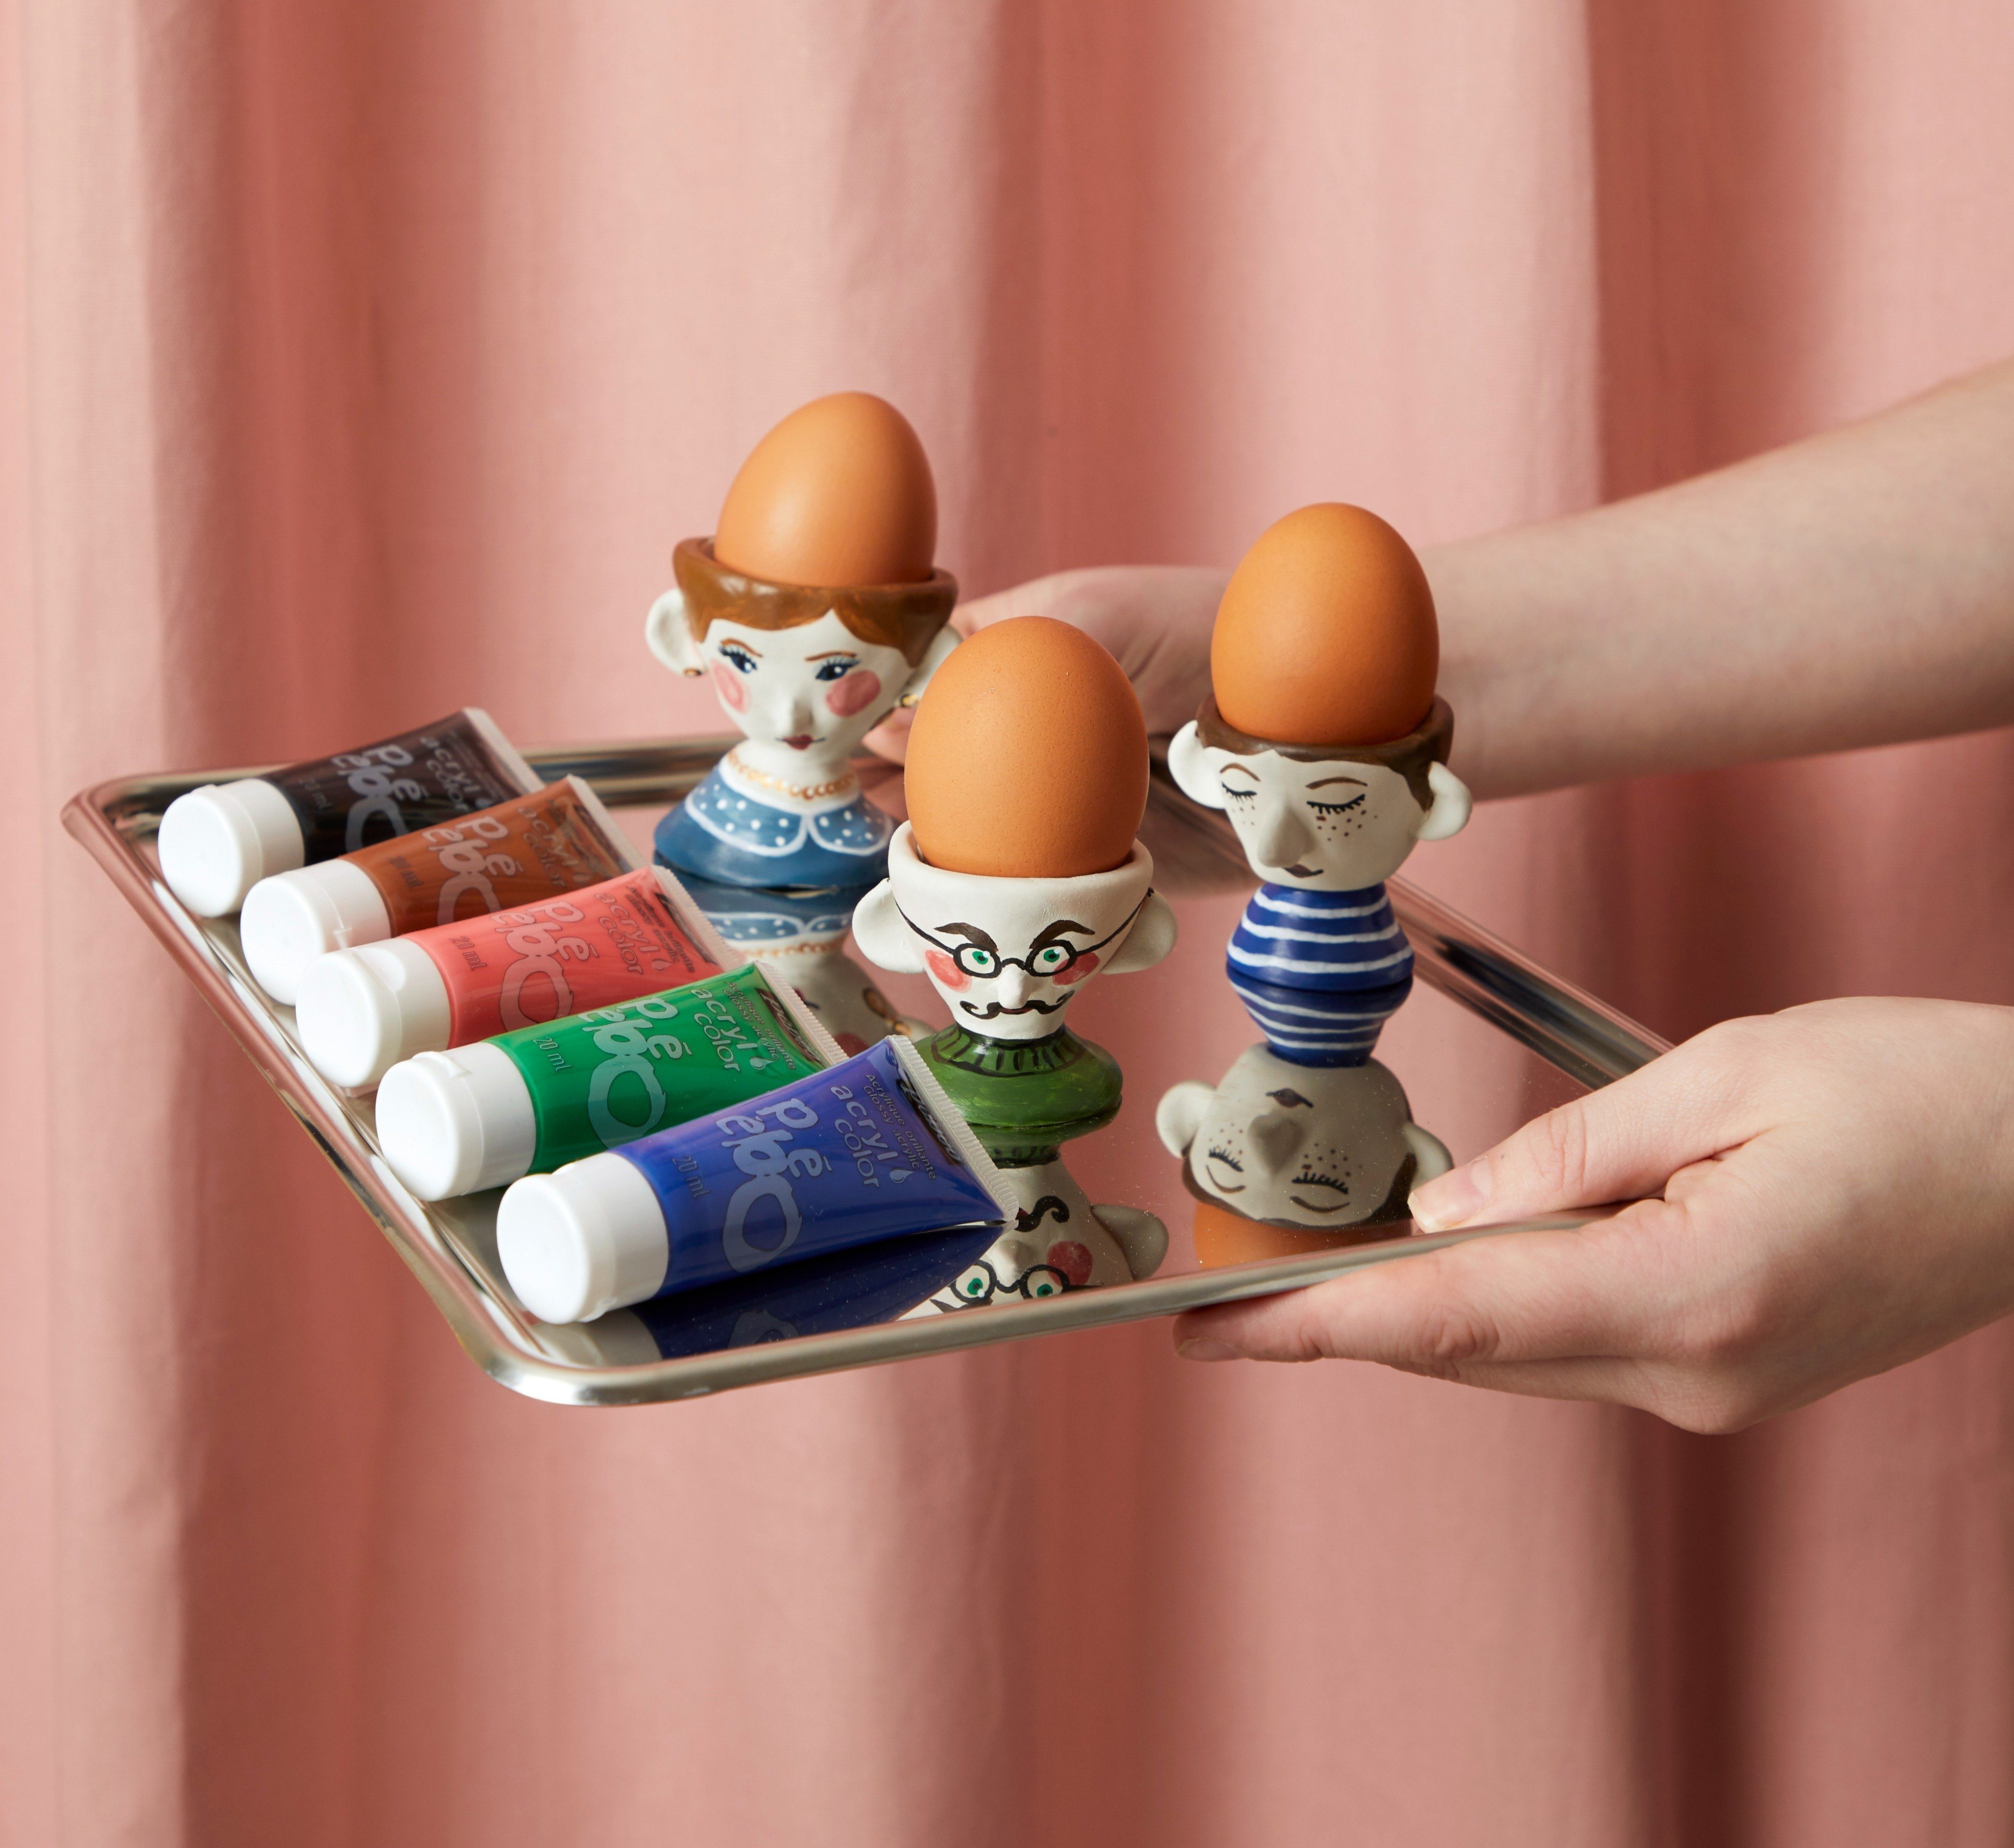
"Façonnez
des figurines en argile sans cuisson et décorez-les pour obtenir de drôles de coquetiers
ou des petits vases surprenants."
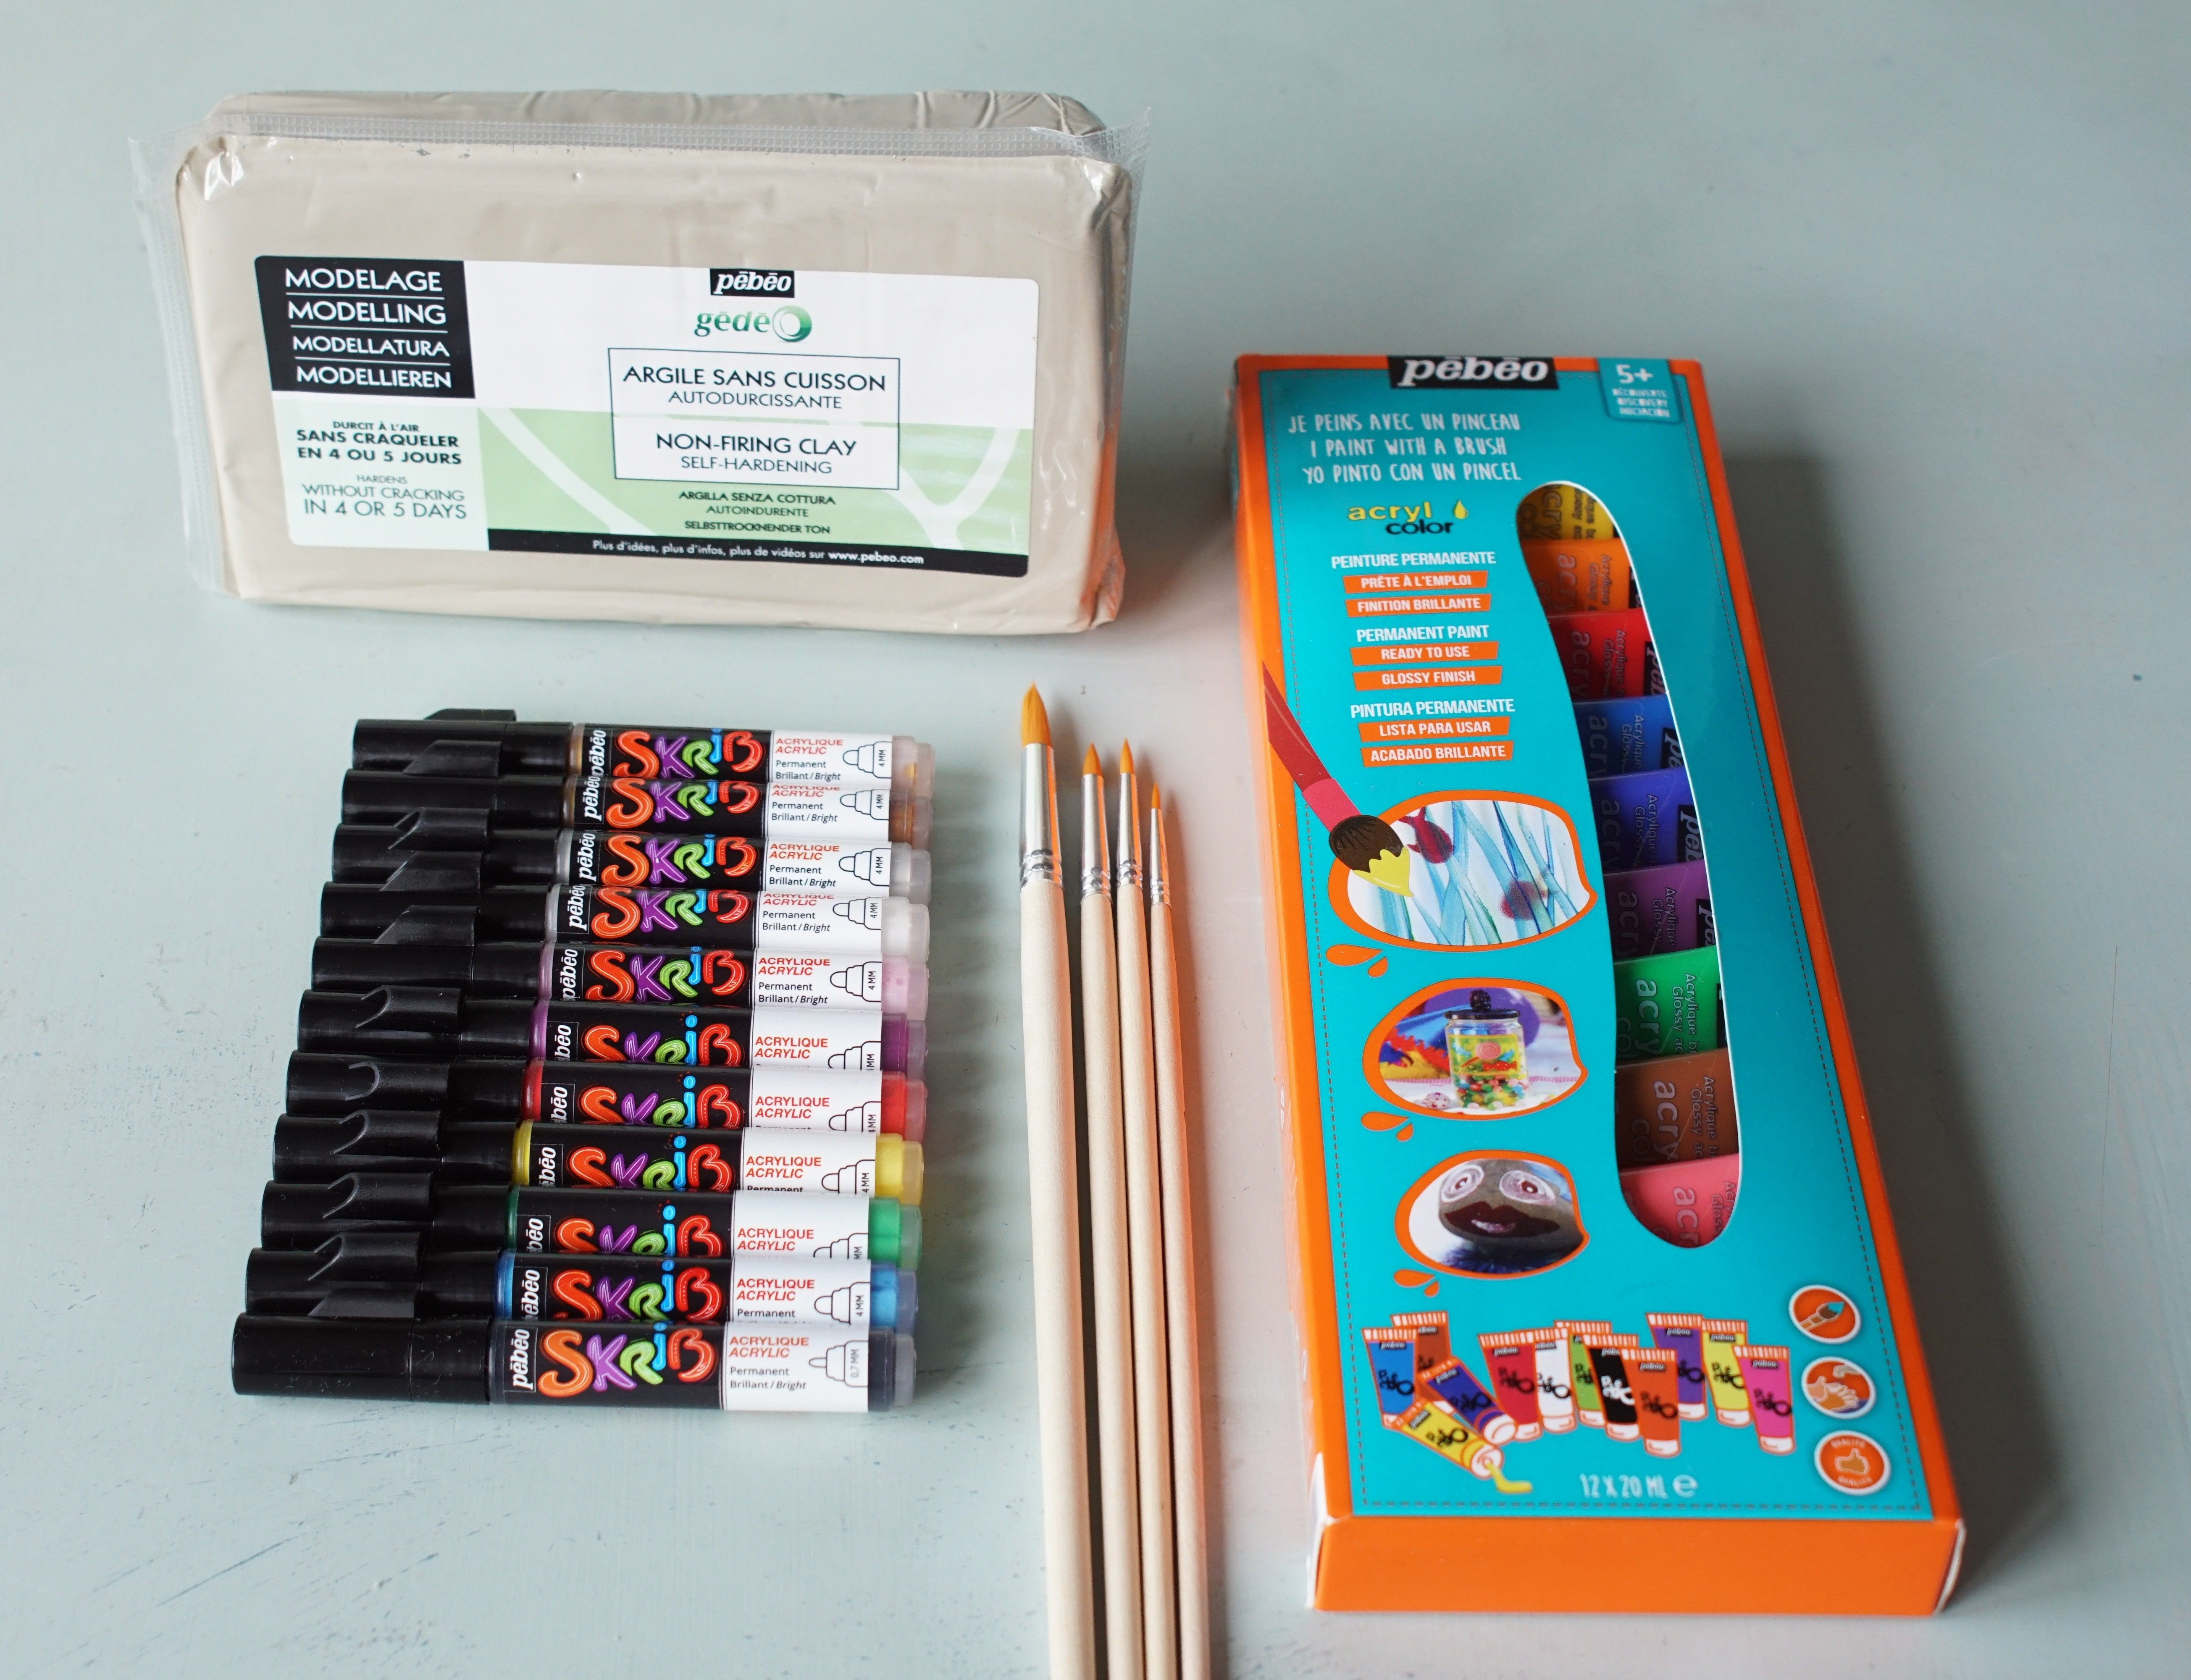
Matériels :
- Argile à modeler autodurcissante blanche
- Tubes peinture acryl’color
- Feutres SRKIB acrylique
- Pinceaux
- Outils de modelage
- Pot d’eau et palette
- OEuf
- Papier de verre fin
- Vernis alimentaire mat
- Temps de séchage : 4 jours
- Temps de réalisation : 1h par coquetier
- Difficulté : moyenne - A partir de 6 ans
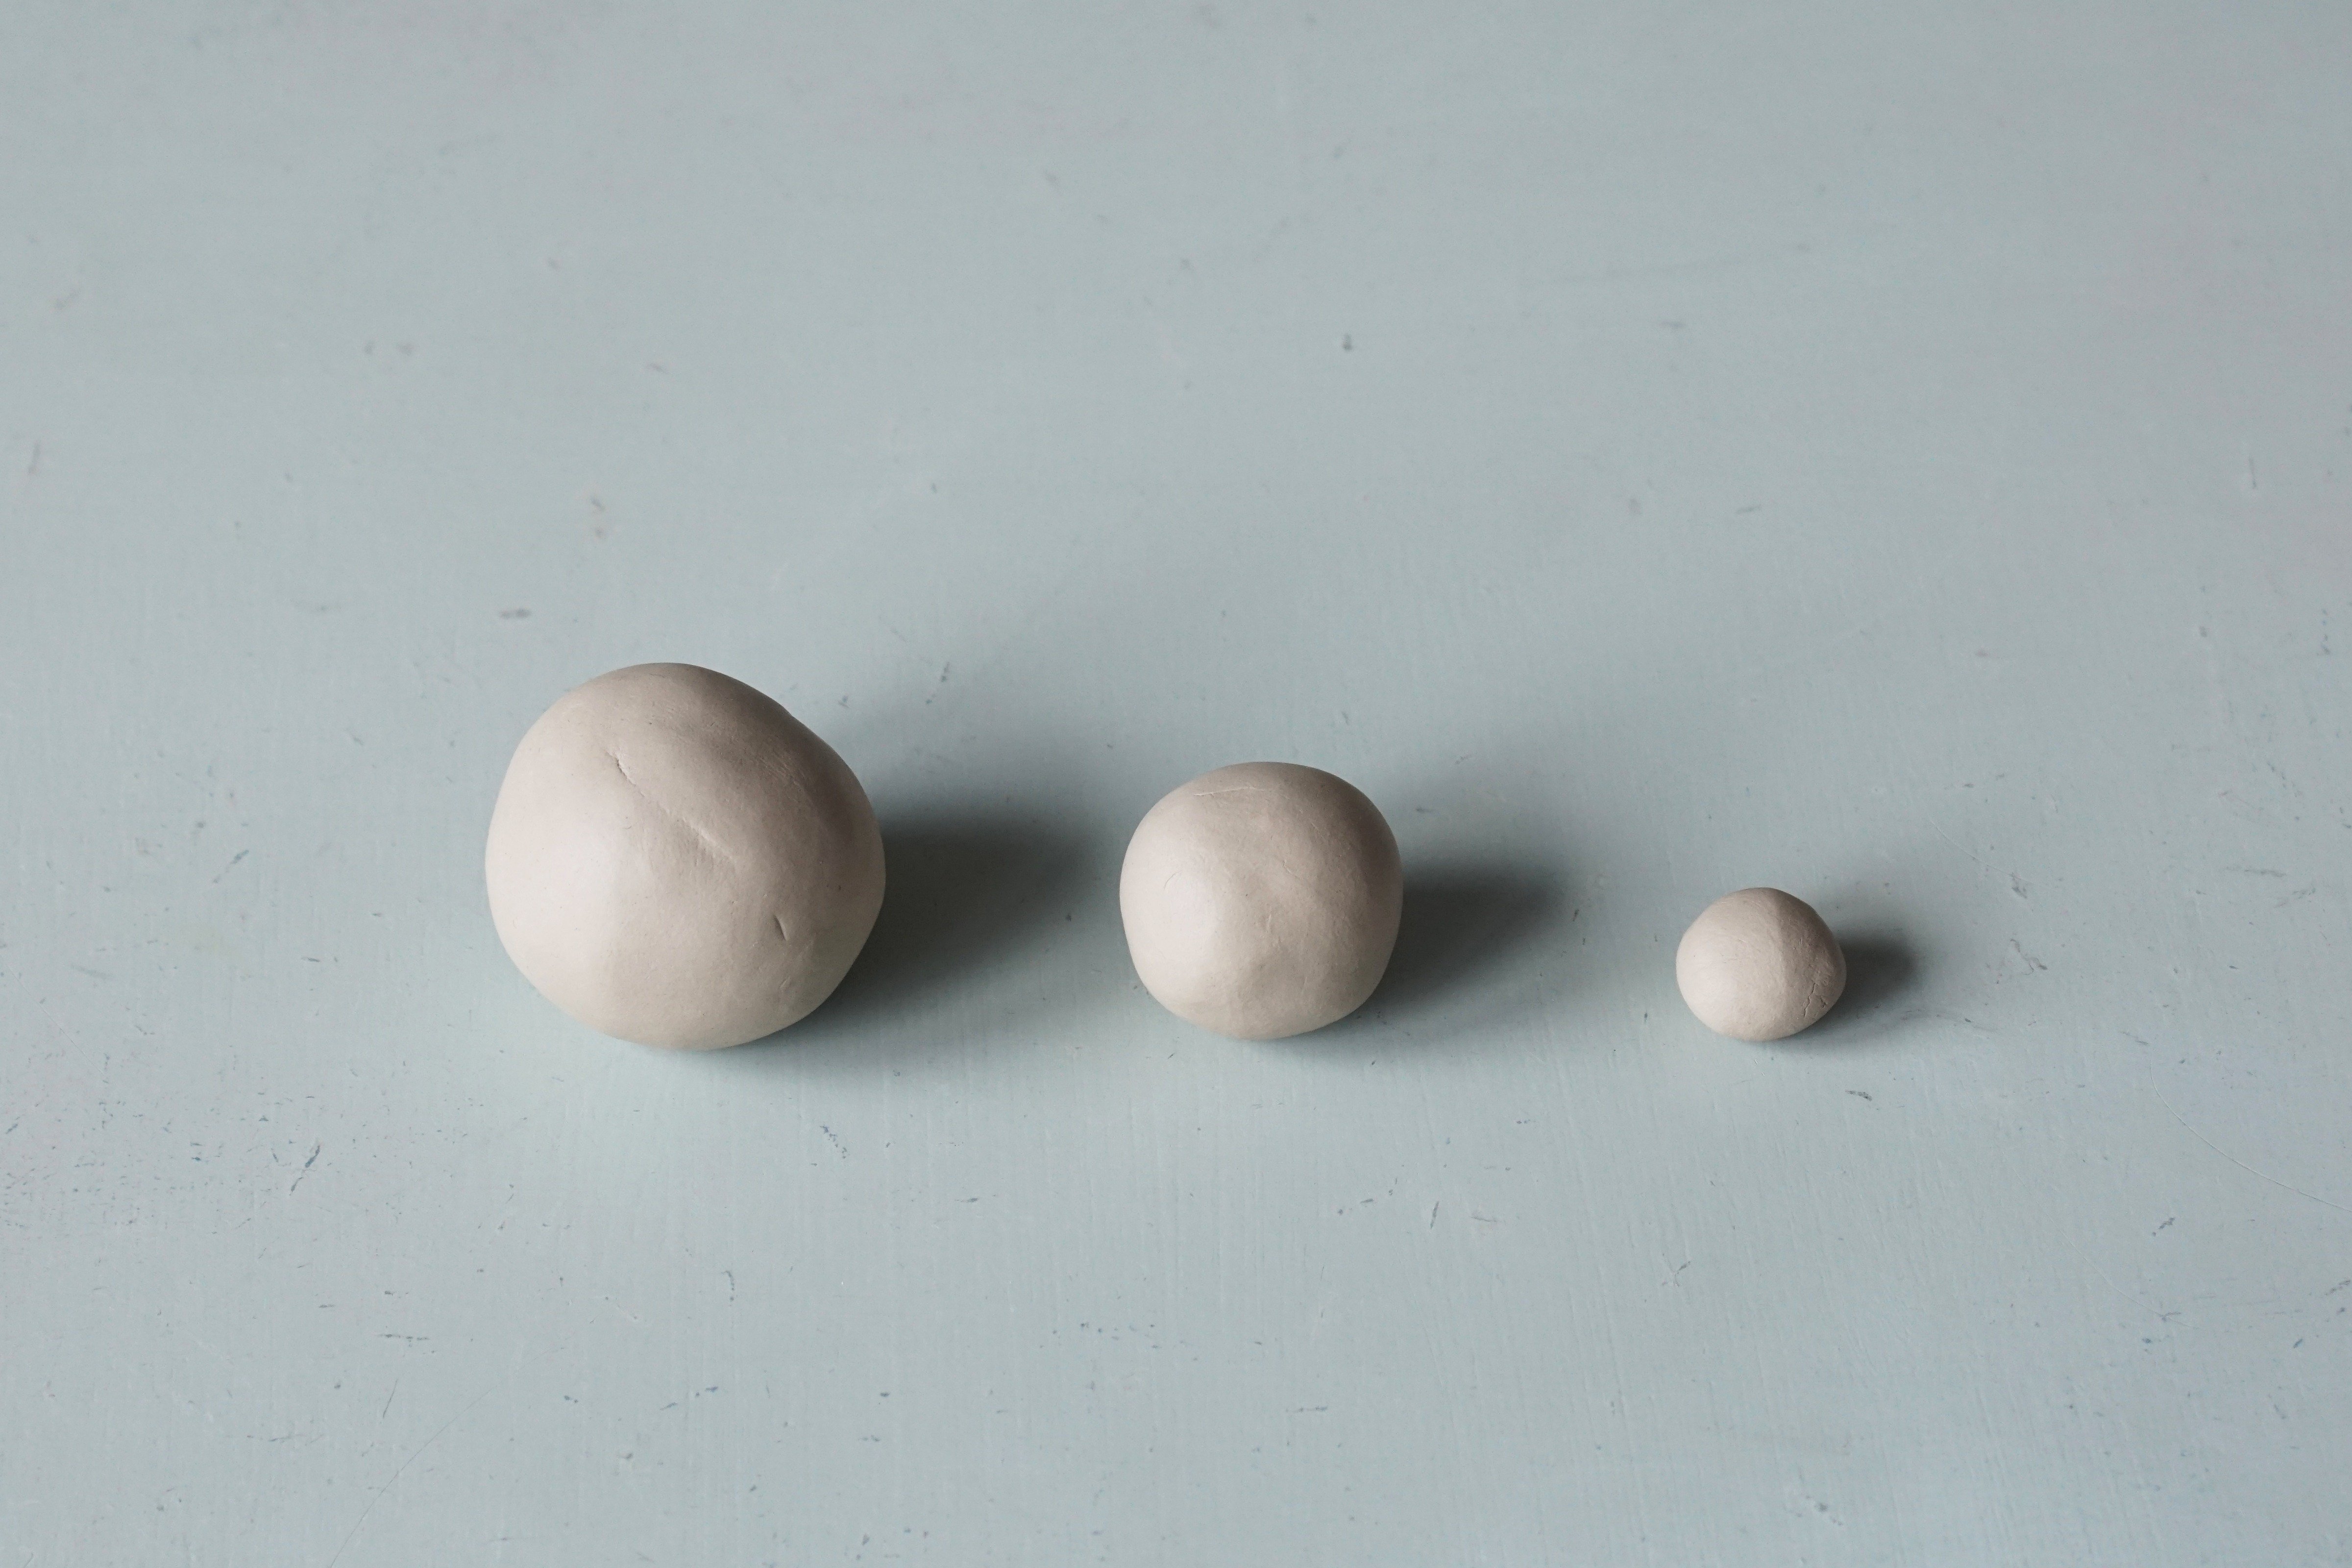
- Forme 3 boules de terre : une d’environ 3cm de diamètre, une de 2 cm et une de 1 cm
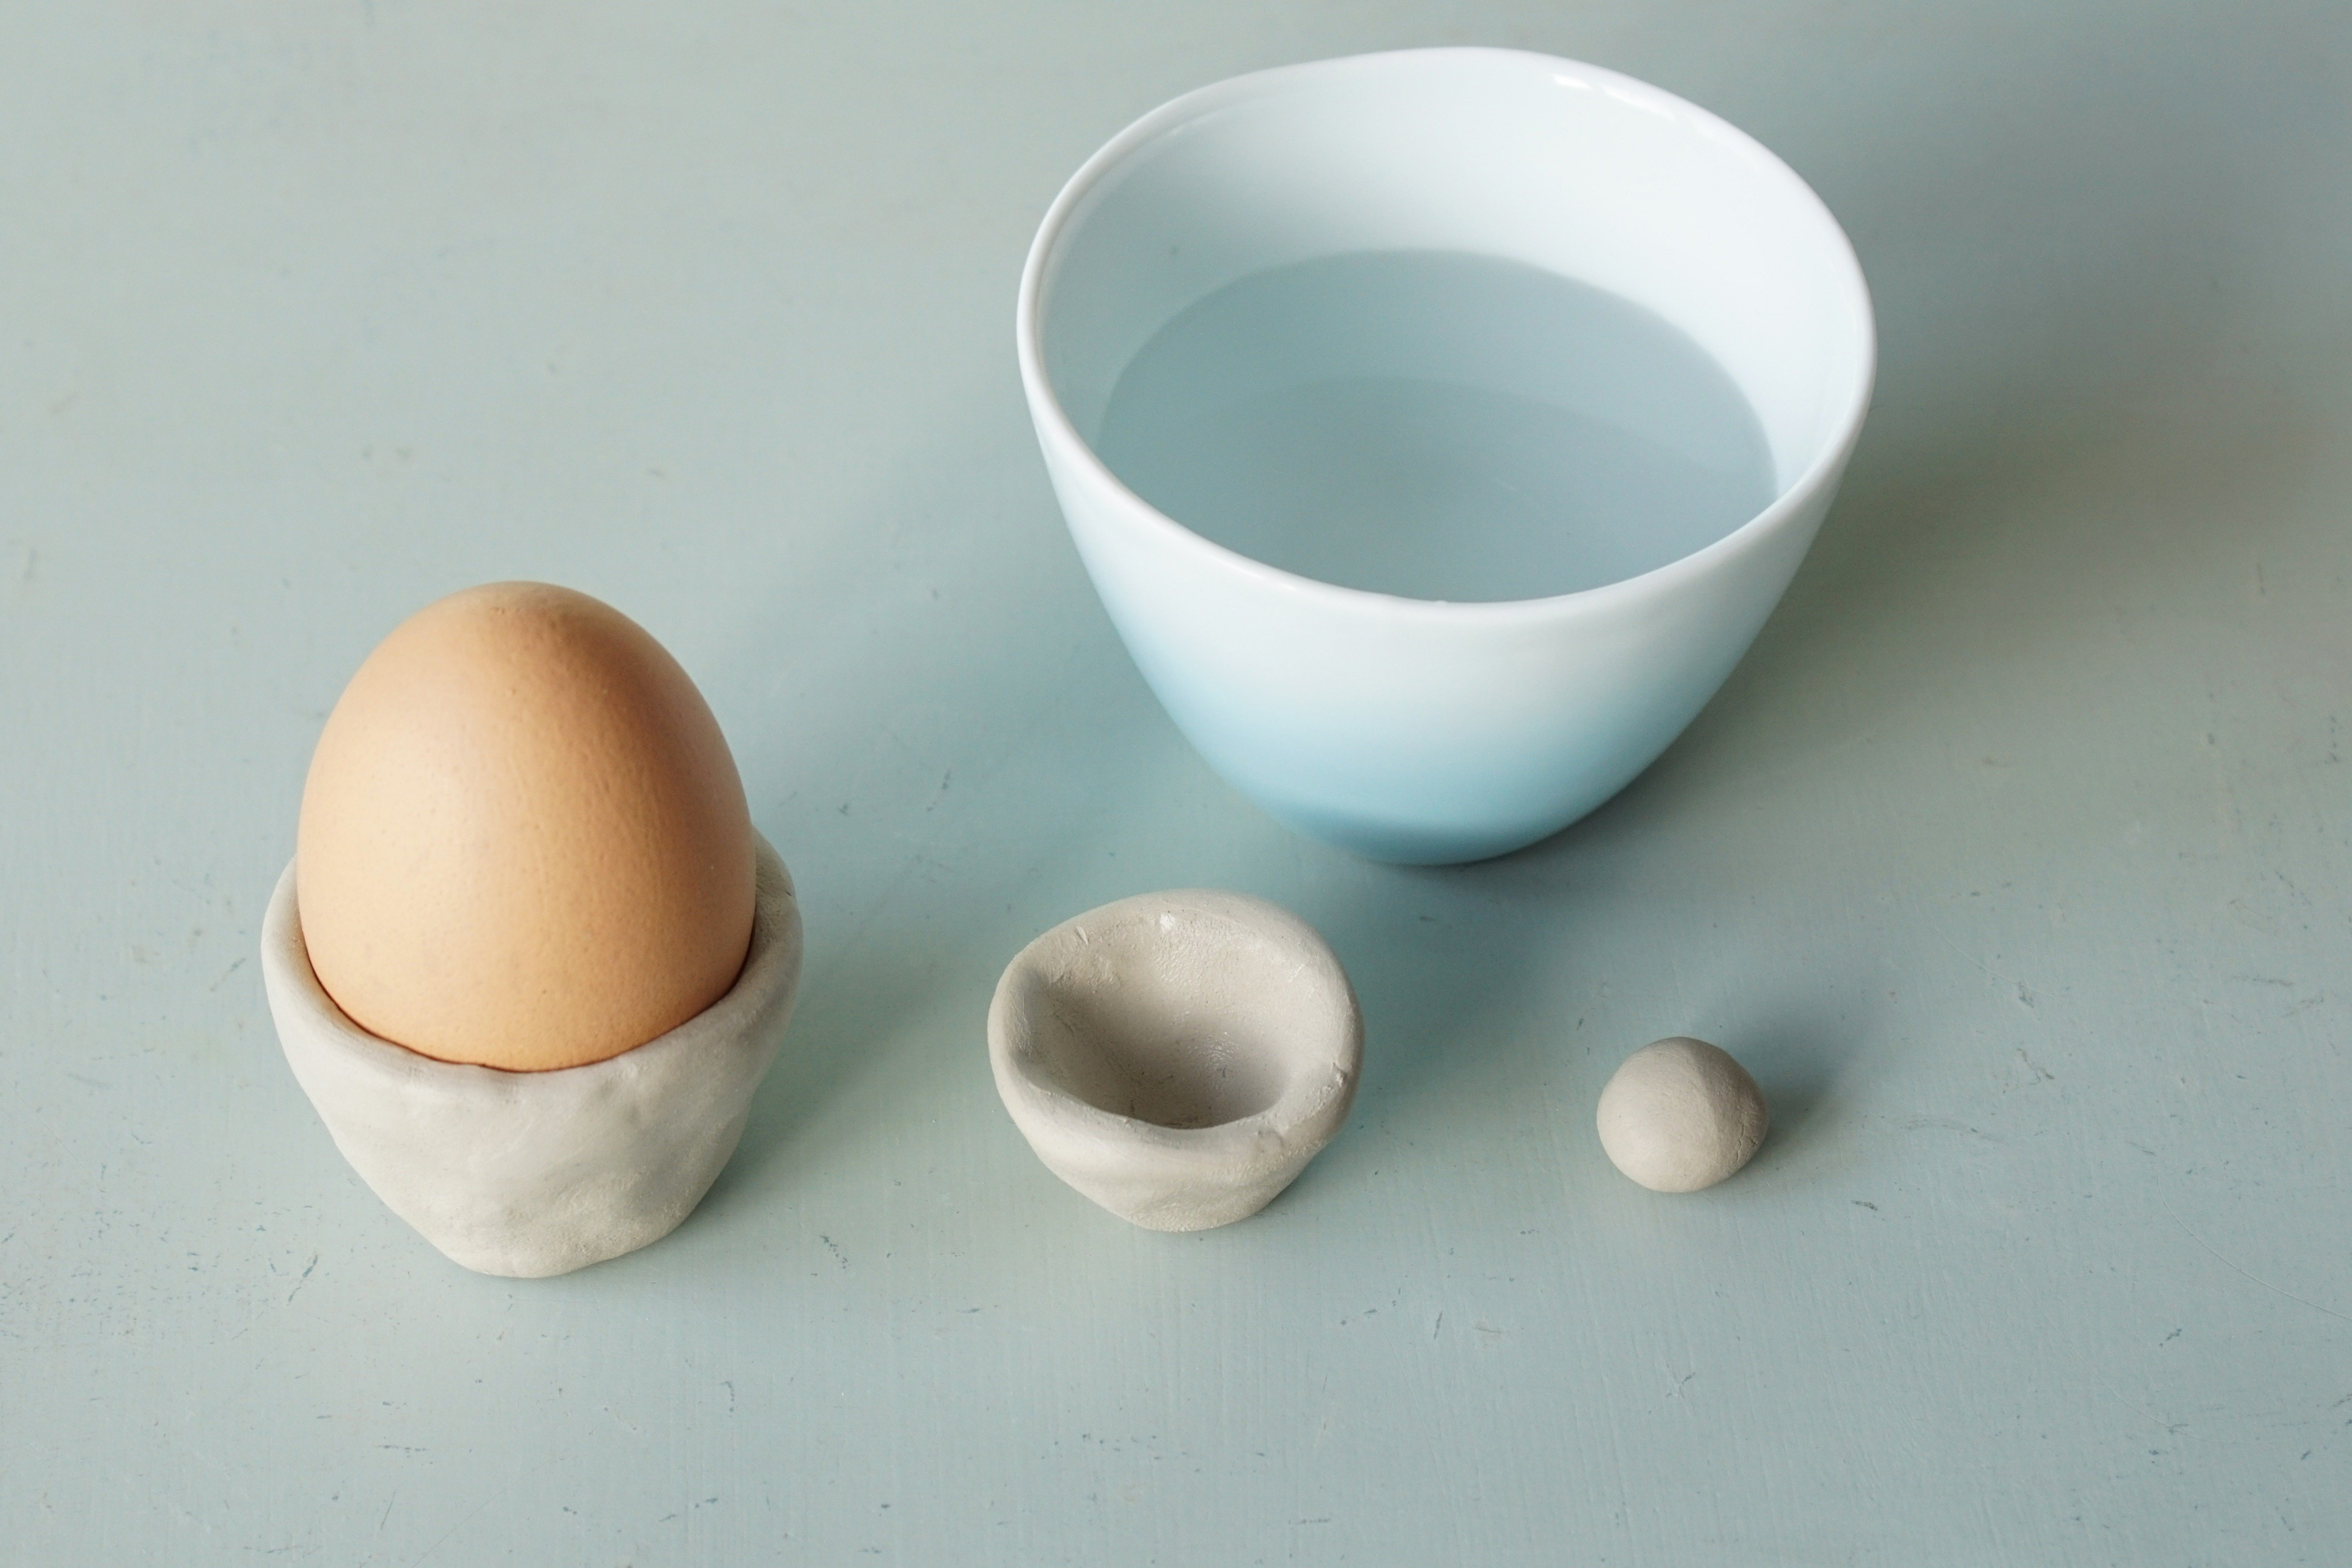
- Creuse la plus grosse de boule de terre pour former un puits qui va accueil un œuf.
- Vérifie la taille avec un vrai œuf.
- Attention la terre rétrécie un peu en séchant, donc réalise un puits un peu plus grand que l’œuf
- Avec la petite boule, réalise un puits plus large et moins haut.
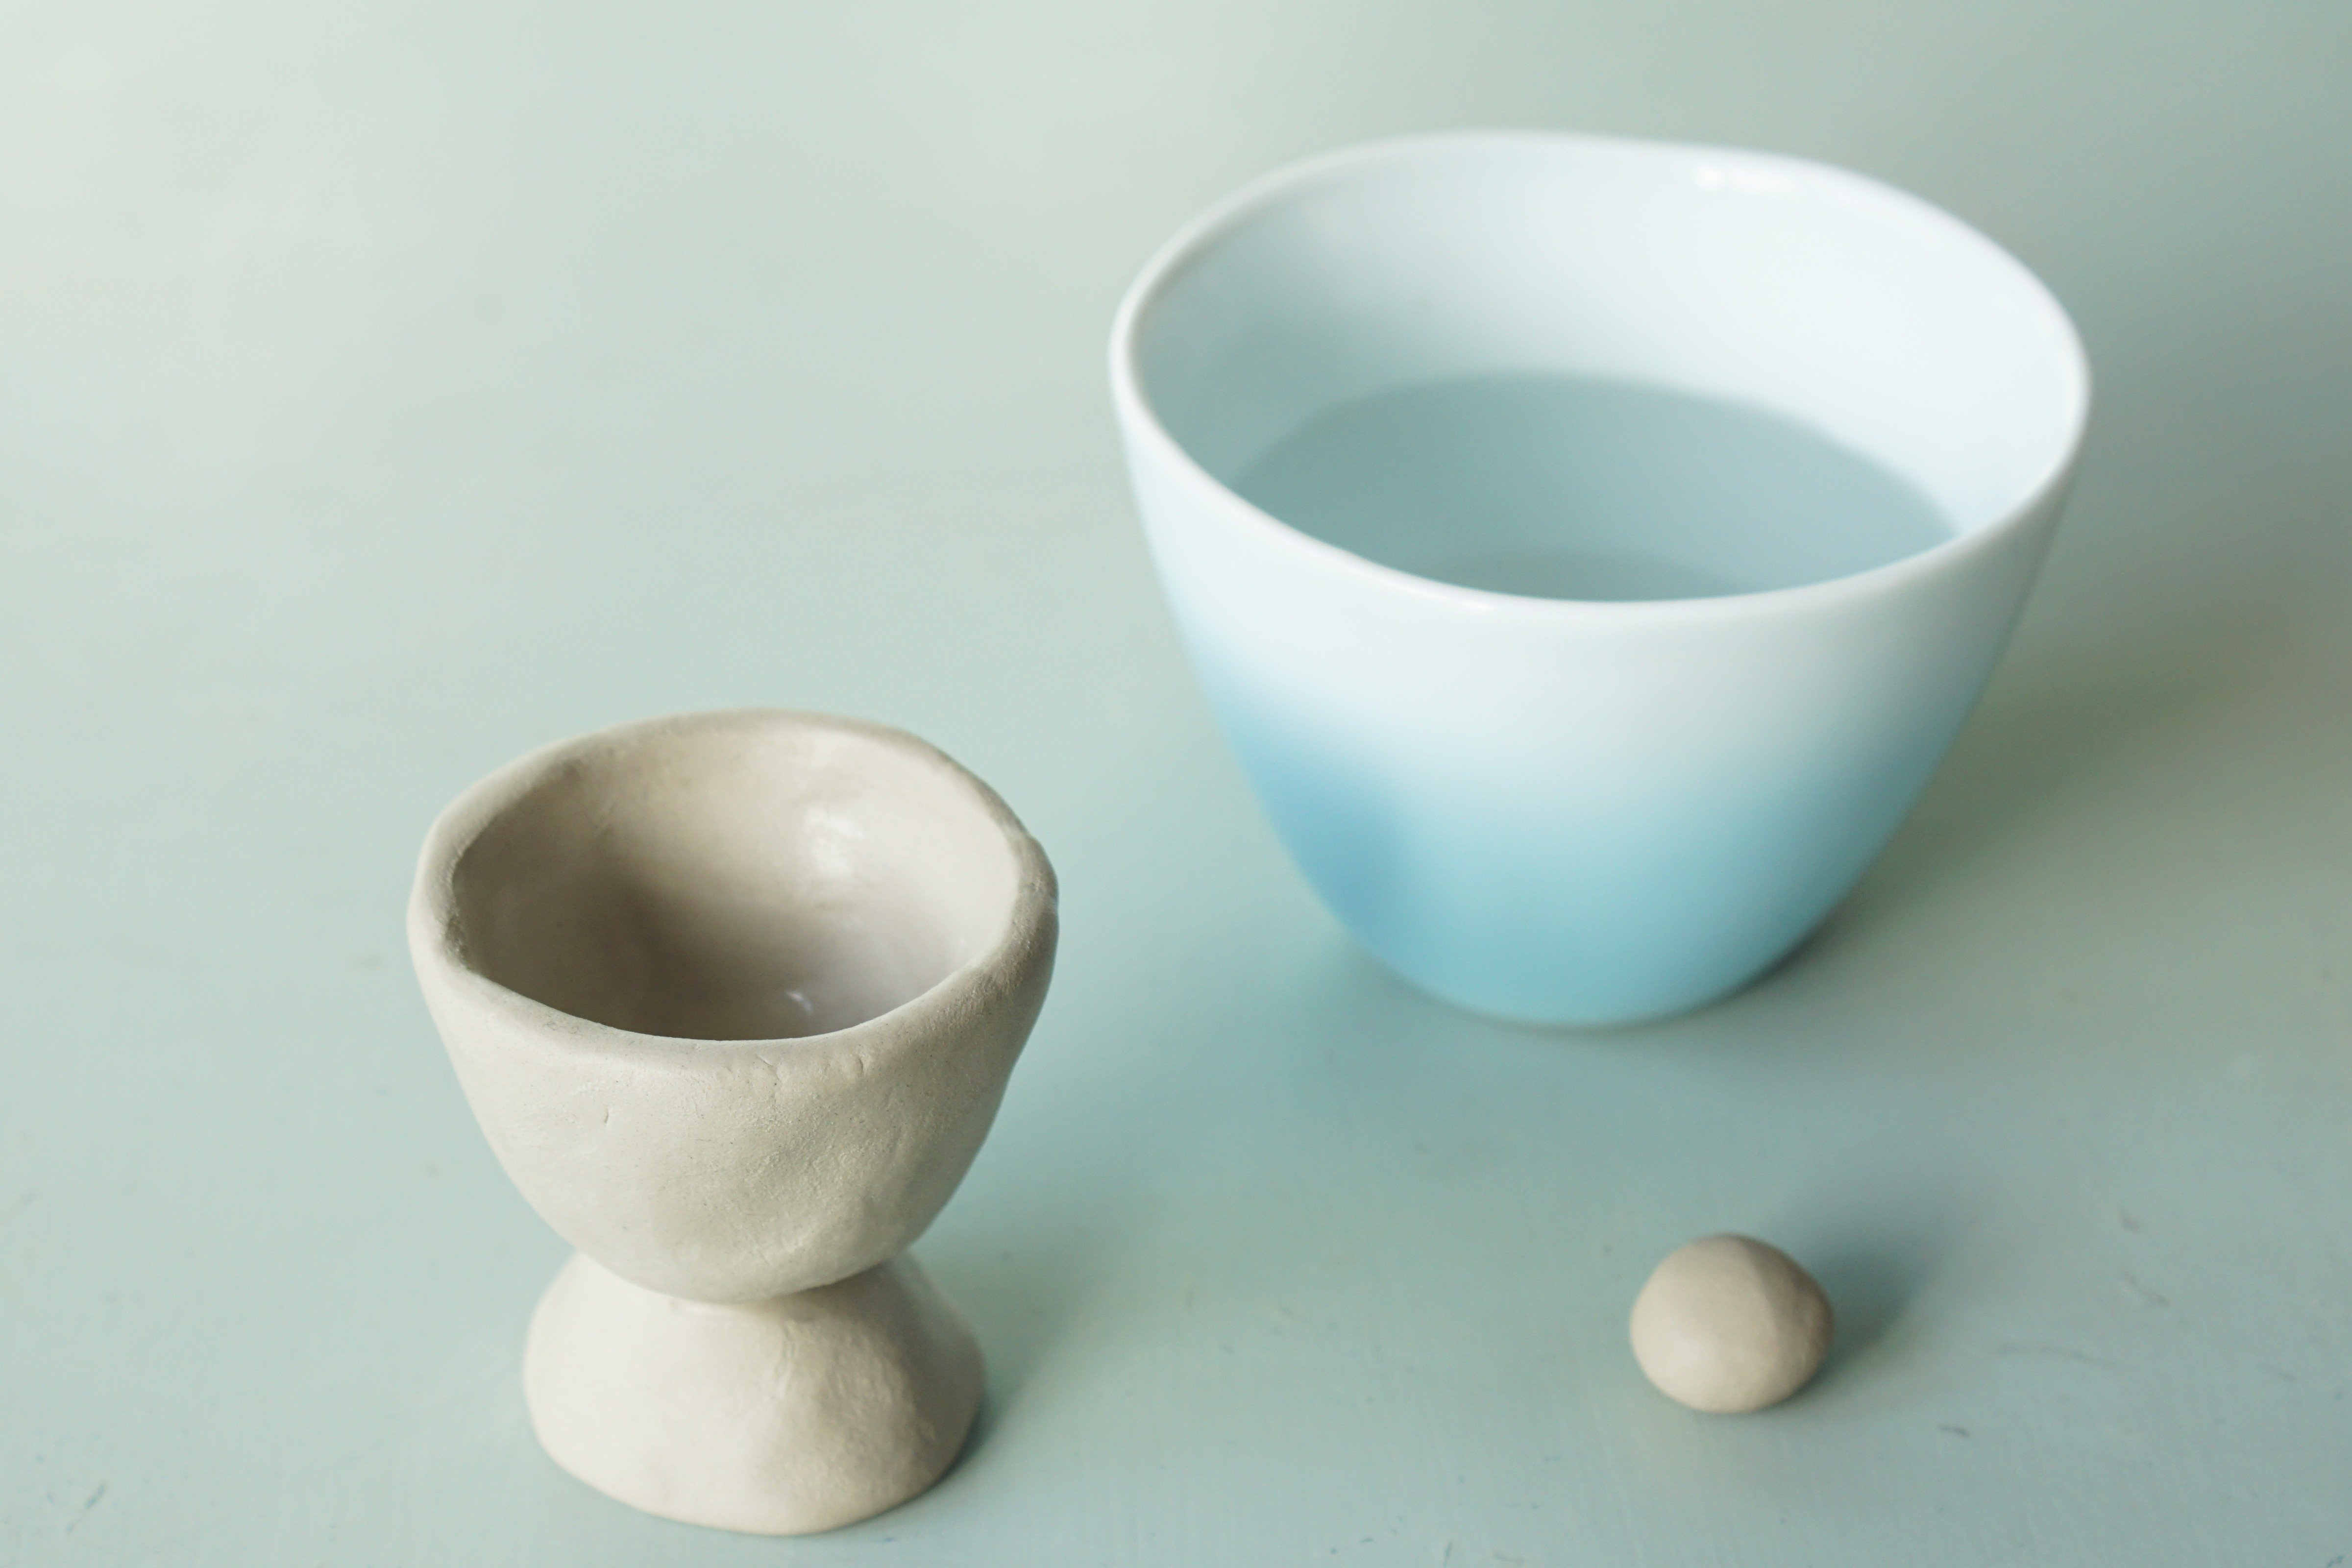
- Colle le petit puits à l’envers sous le grand puits, à l’aide d’un peu d’eau entre les deux, puis en lissant la jonction des deux jusqu’à ce qu’elle disparaisse.
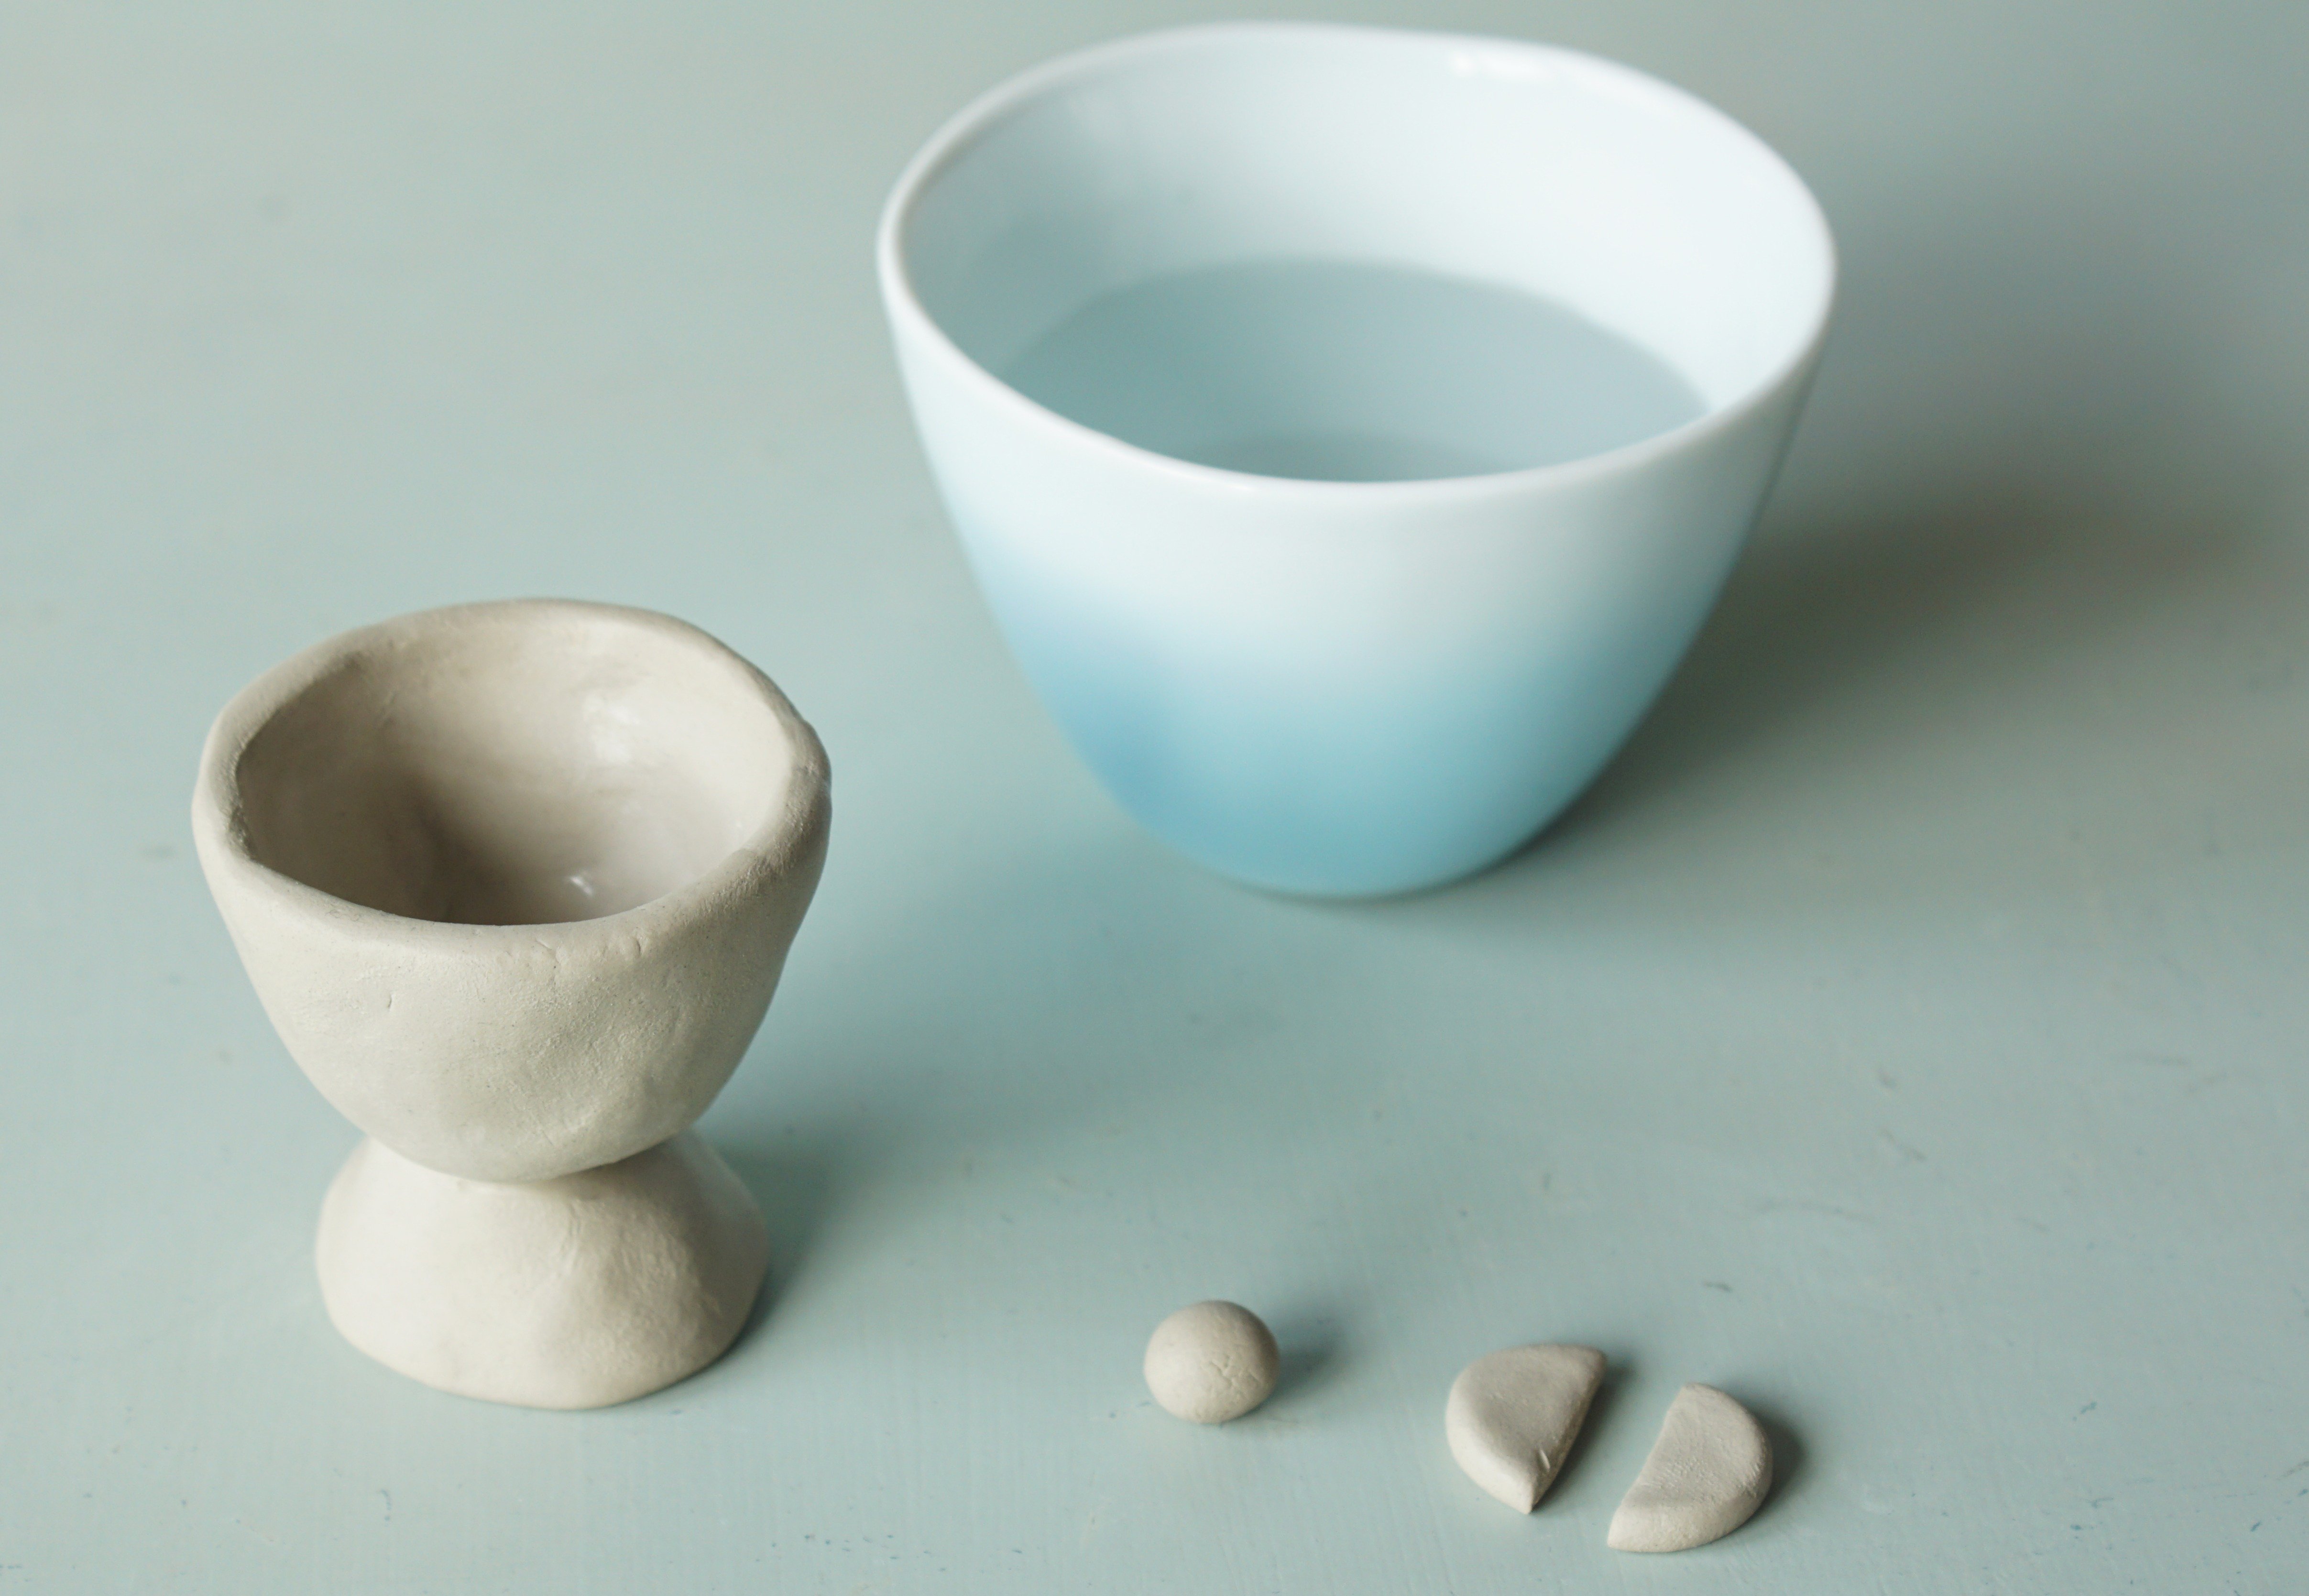
- Avec la plus petite boule, forme une mini boule pour le nez.
- Aplatis la boule de terre restante et coupe ce rond en deux pour former les oreilles.
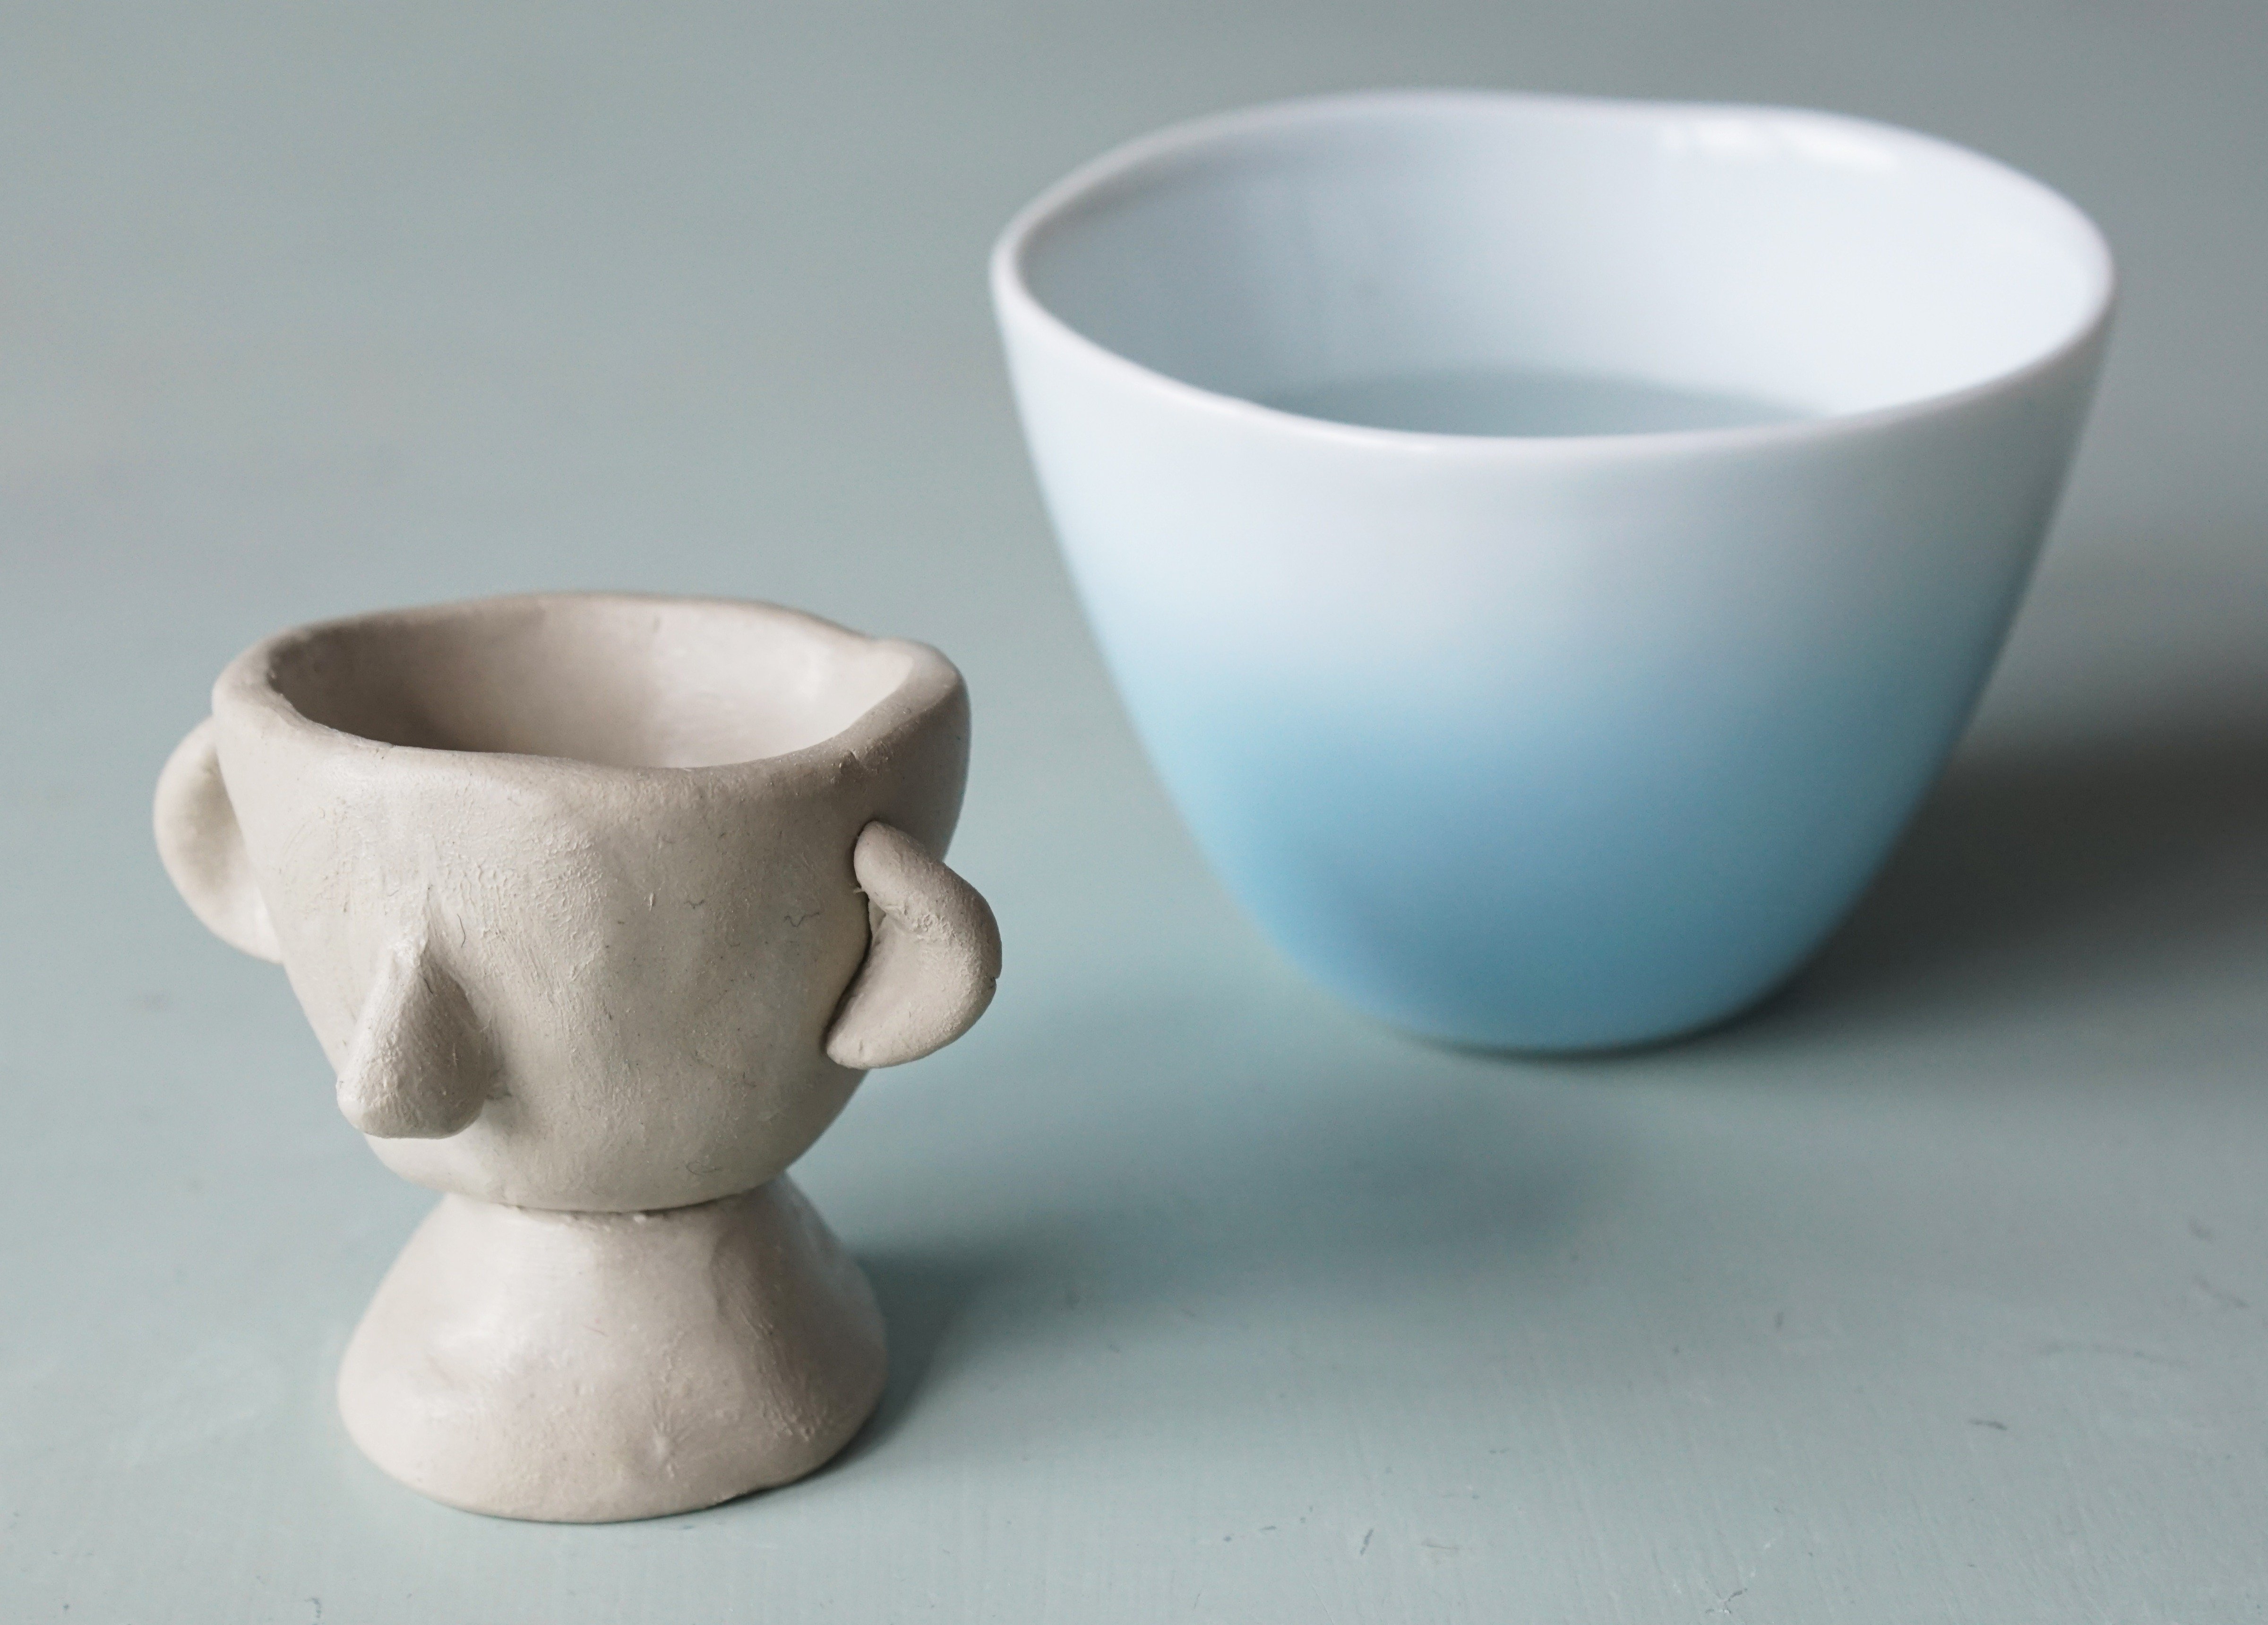
- Avec un peu d’eau, colle le nez et les oreilles sur le coquetier. Fignole les soudures à l’aide des outils à modeler pour que les jonctions ne se voient plus.
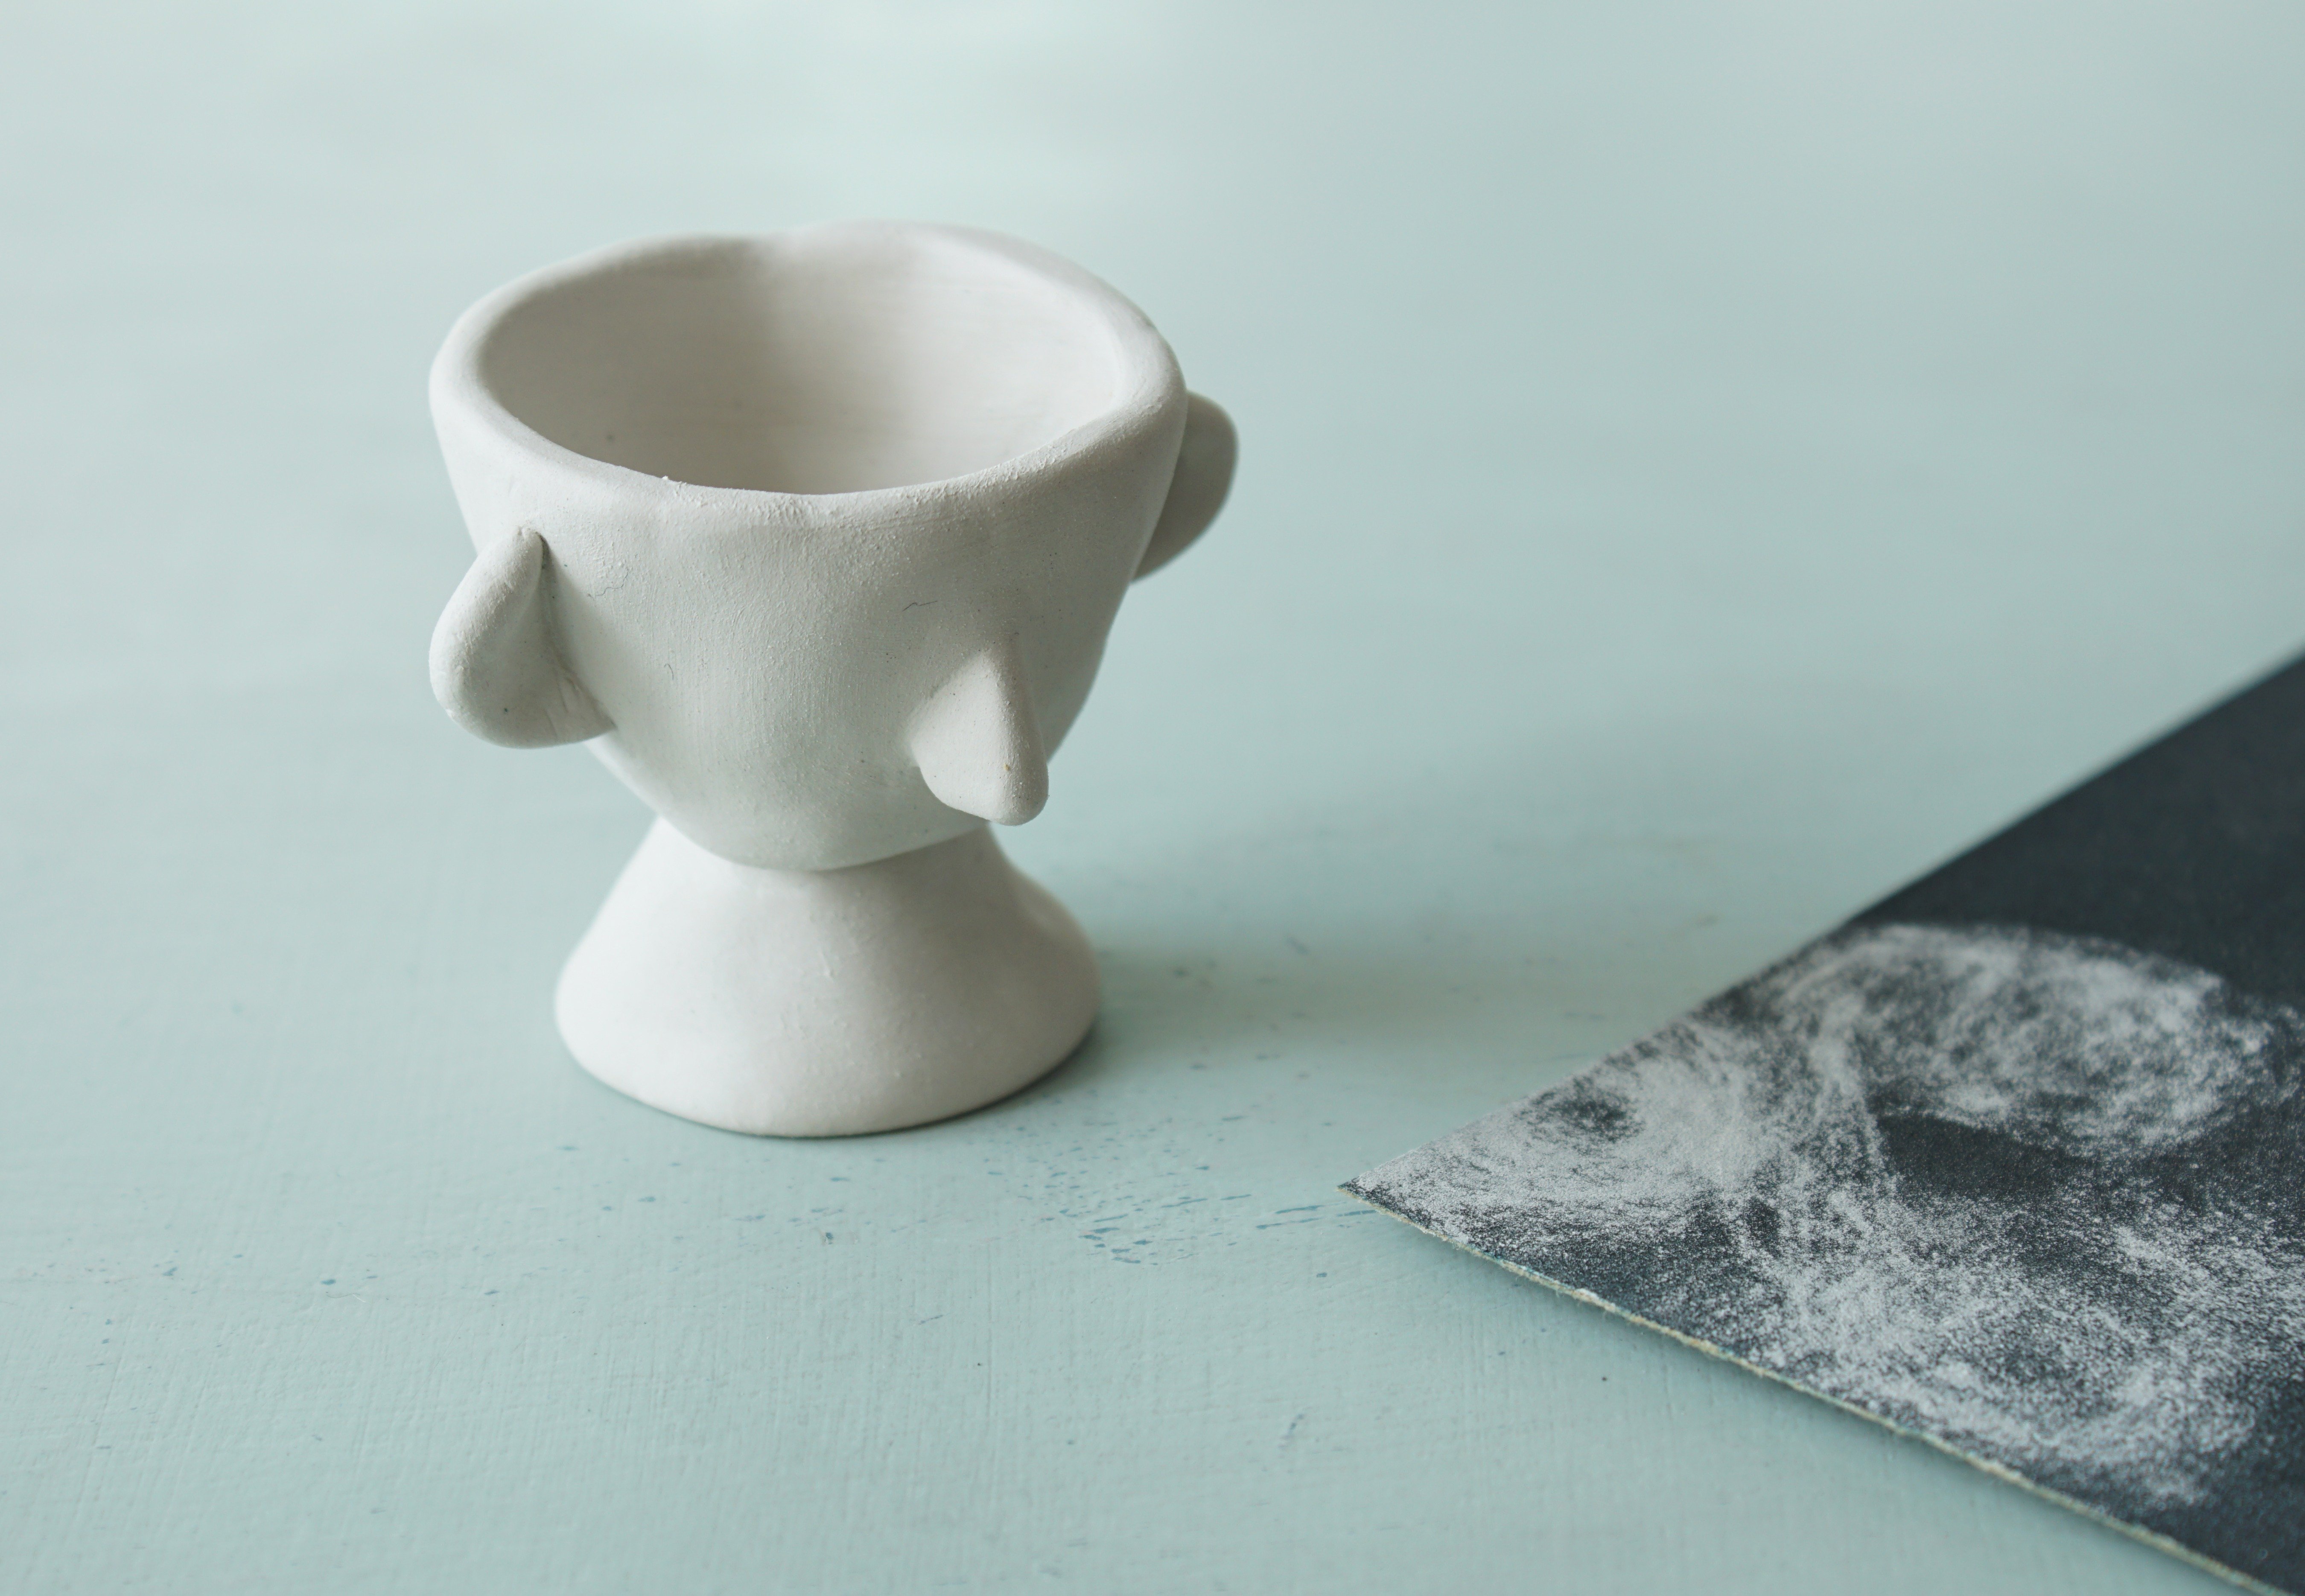
- Lisse l’ensemble du coquetier avec un doigt humidifié.
- Laisse sécher à l’air libre plusieurs jours, jusqu’à ce que le coquetier soit bien sec.
- N’hésite pas à poncer la création au papier de verre fin, une fois bien sèche.
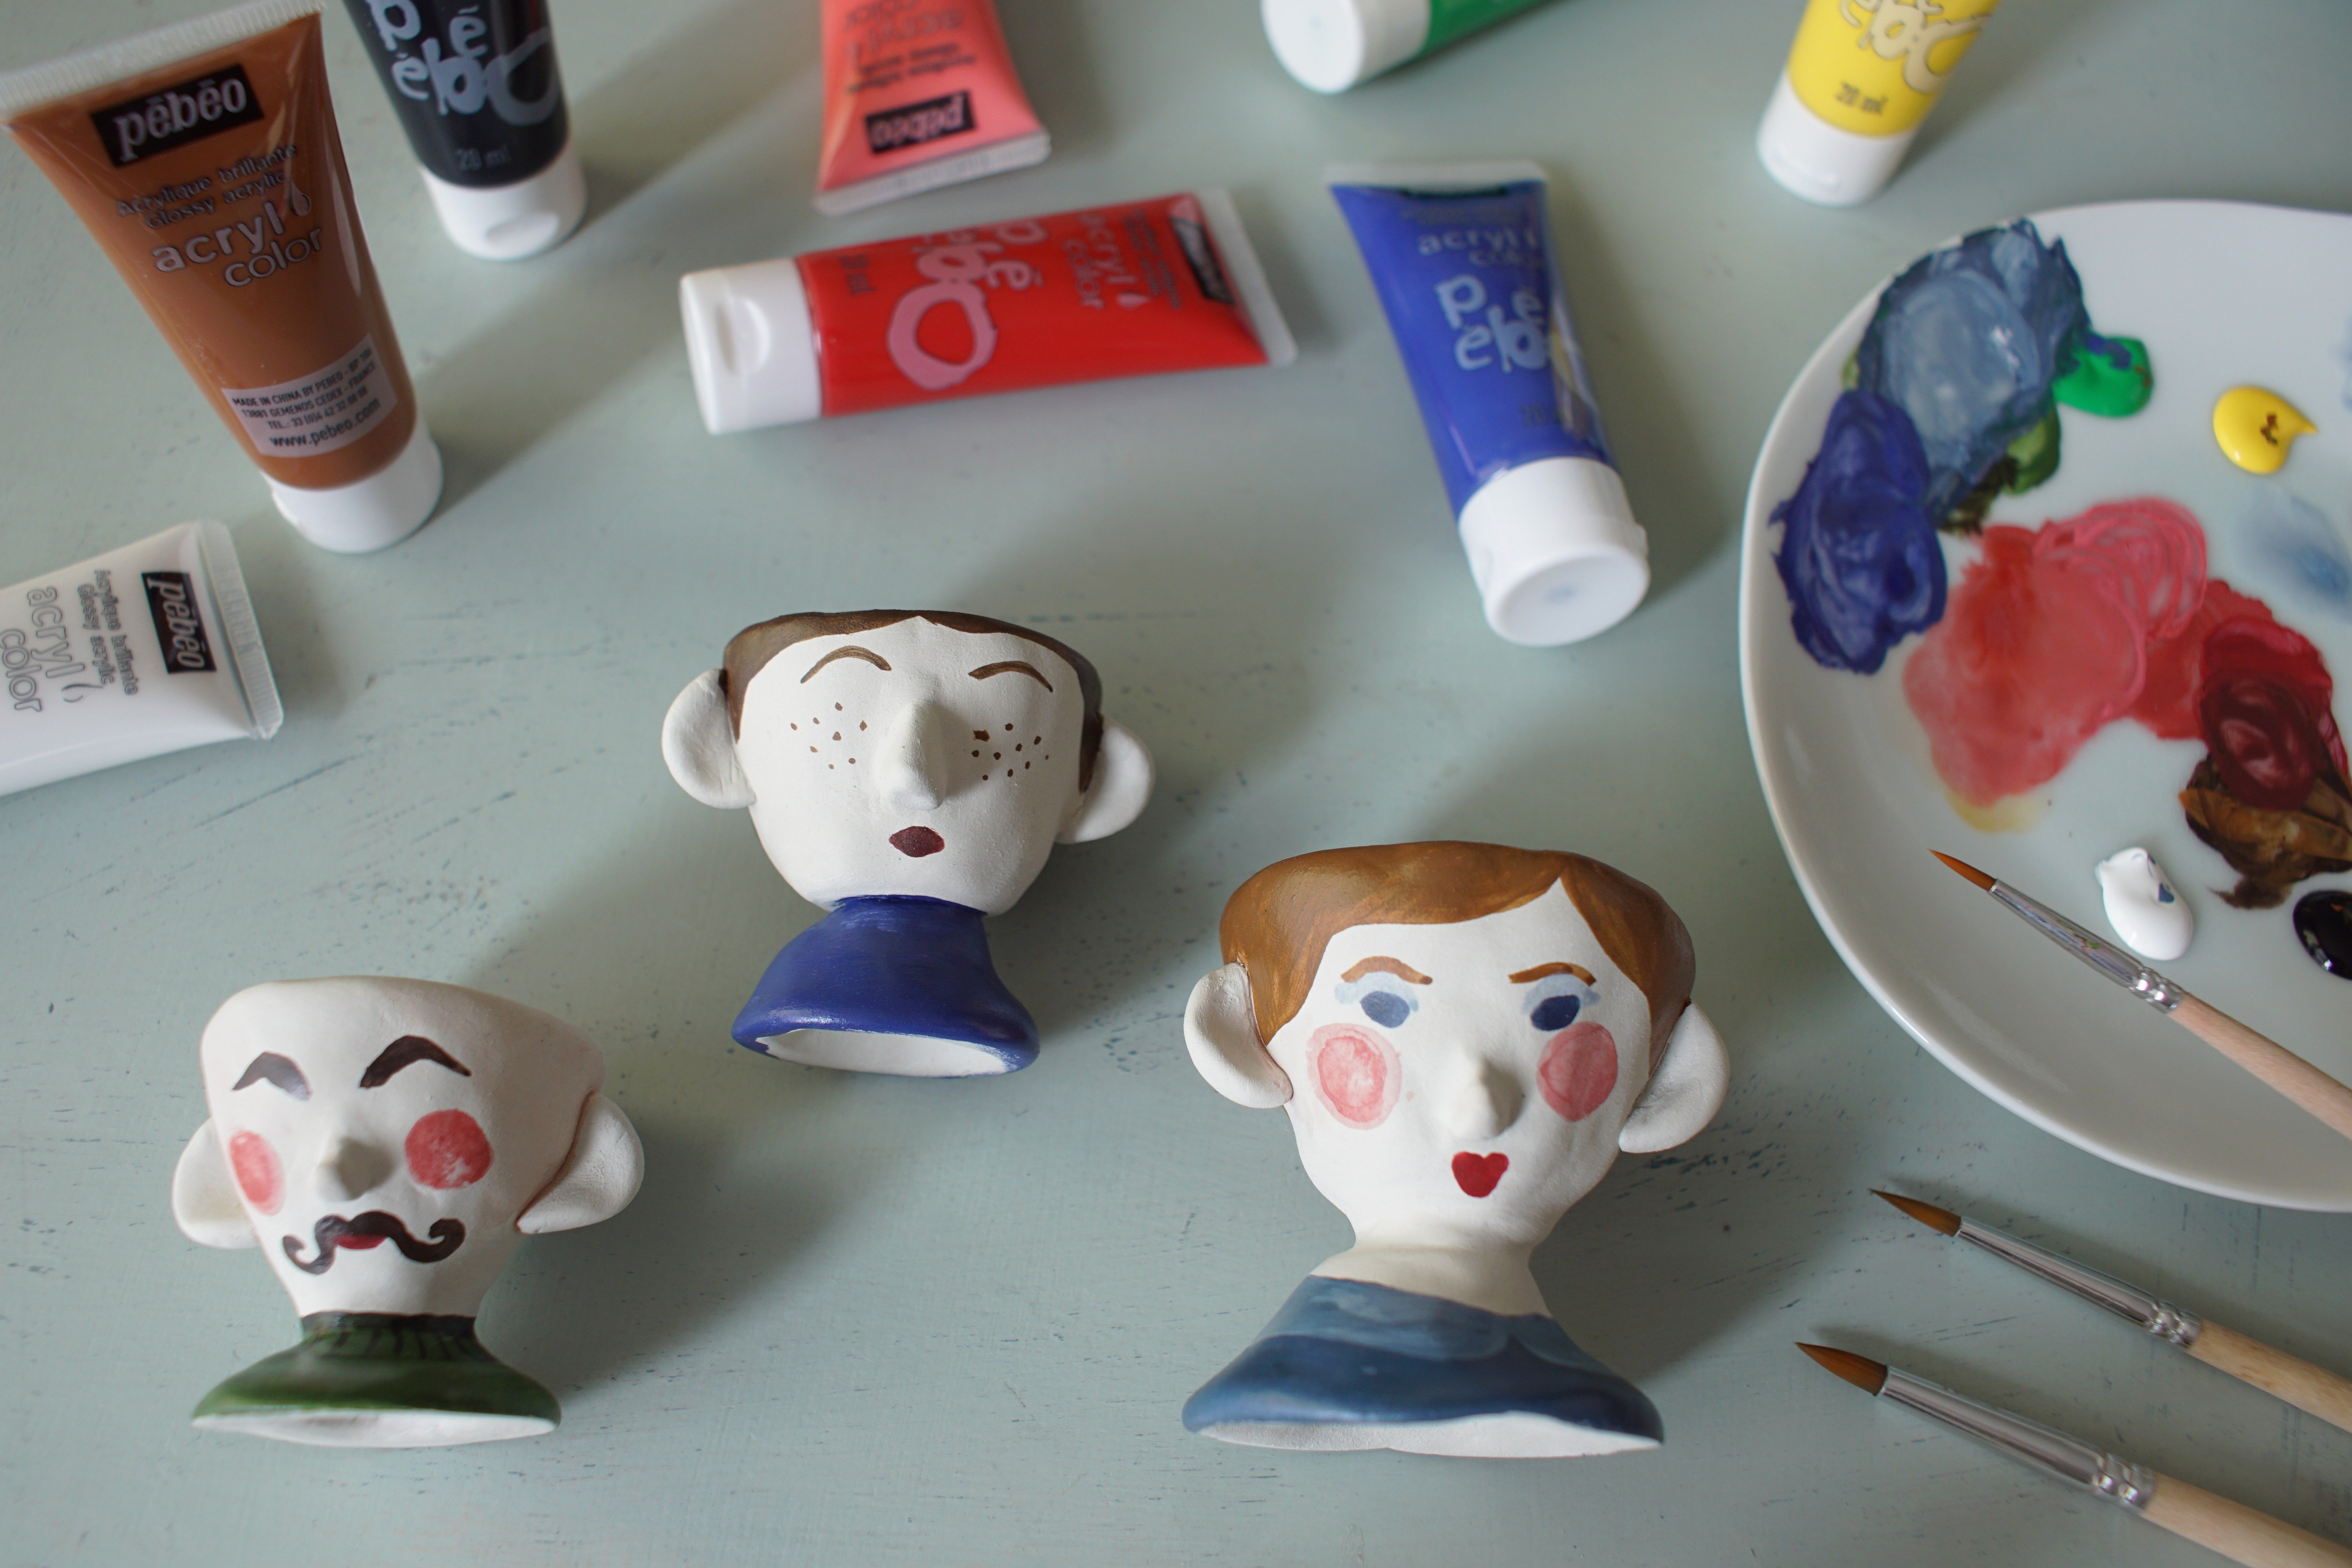
- En suivant le même principe de fabrication, réalise d’autres coquetiers avec d’autres formes de visages en variant la hauteur de la tête et les tailles du cou, du nez et des oreilles.
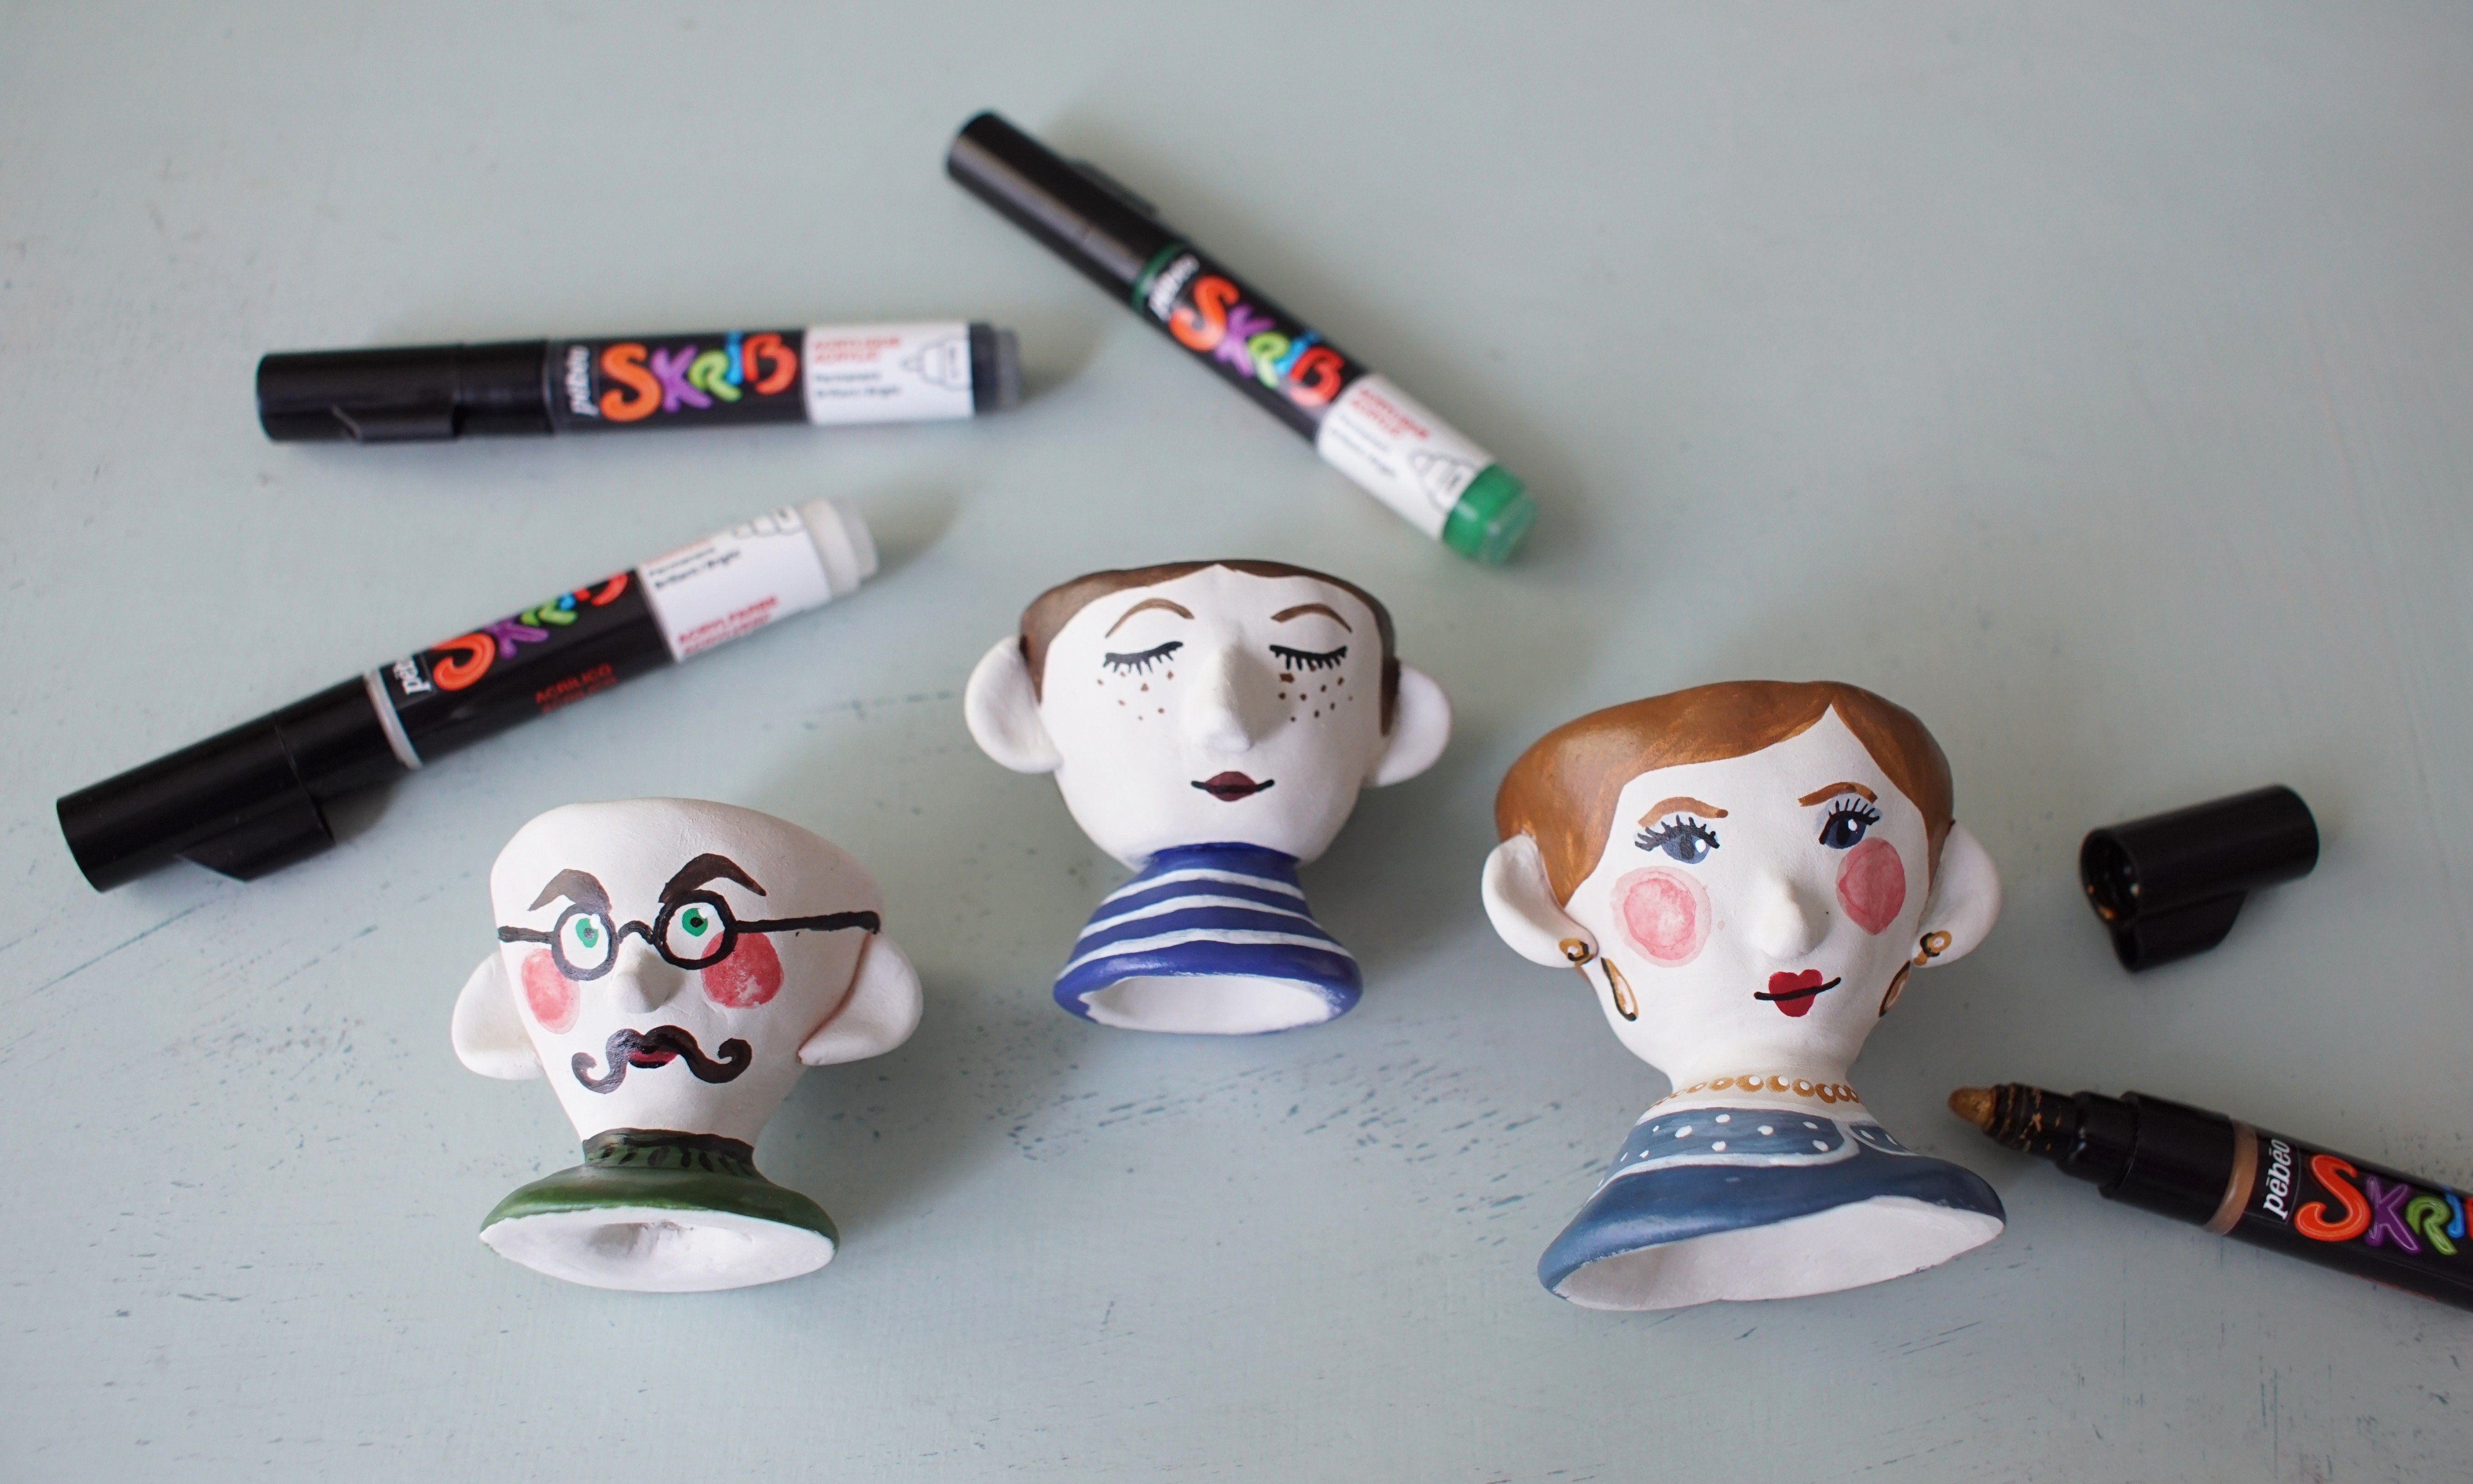
- Mélange les peintures acryliques et dessine au pinceau les joues, la bouche, les yeux, les cheveux, les vêtements de chaque coquetier.
- Ajoute les détails aux feutres Skrib : pupilles, cils, lunettes, sourire, bijoux, rayures…
- Vernis les coquetiers pour les rendre plus faciles à nettoyer après usage. Attention cependant, il fait les laver avec une éponge humide et bien les essuyer ensuite, sans les passer sous l’eau directement.
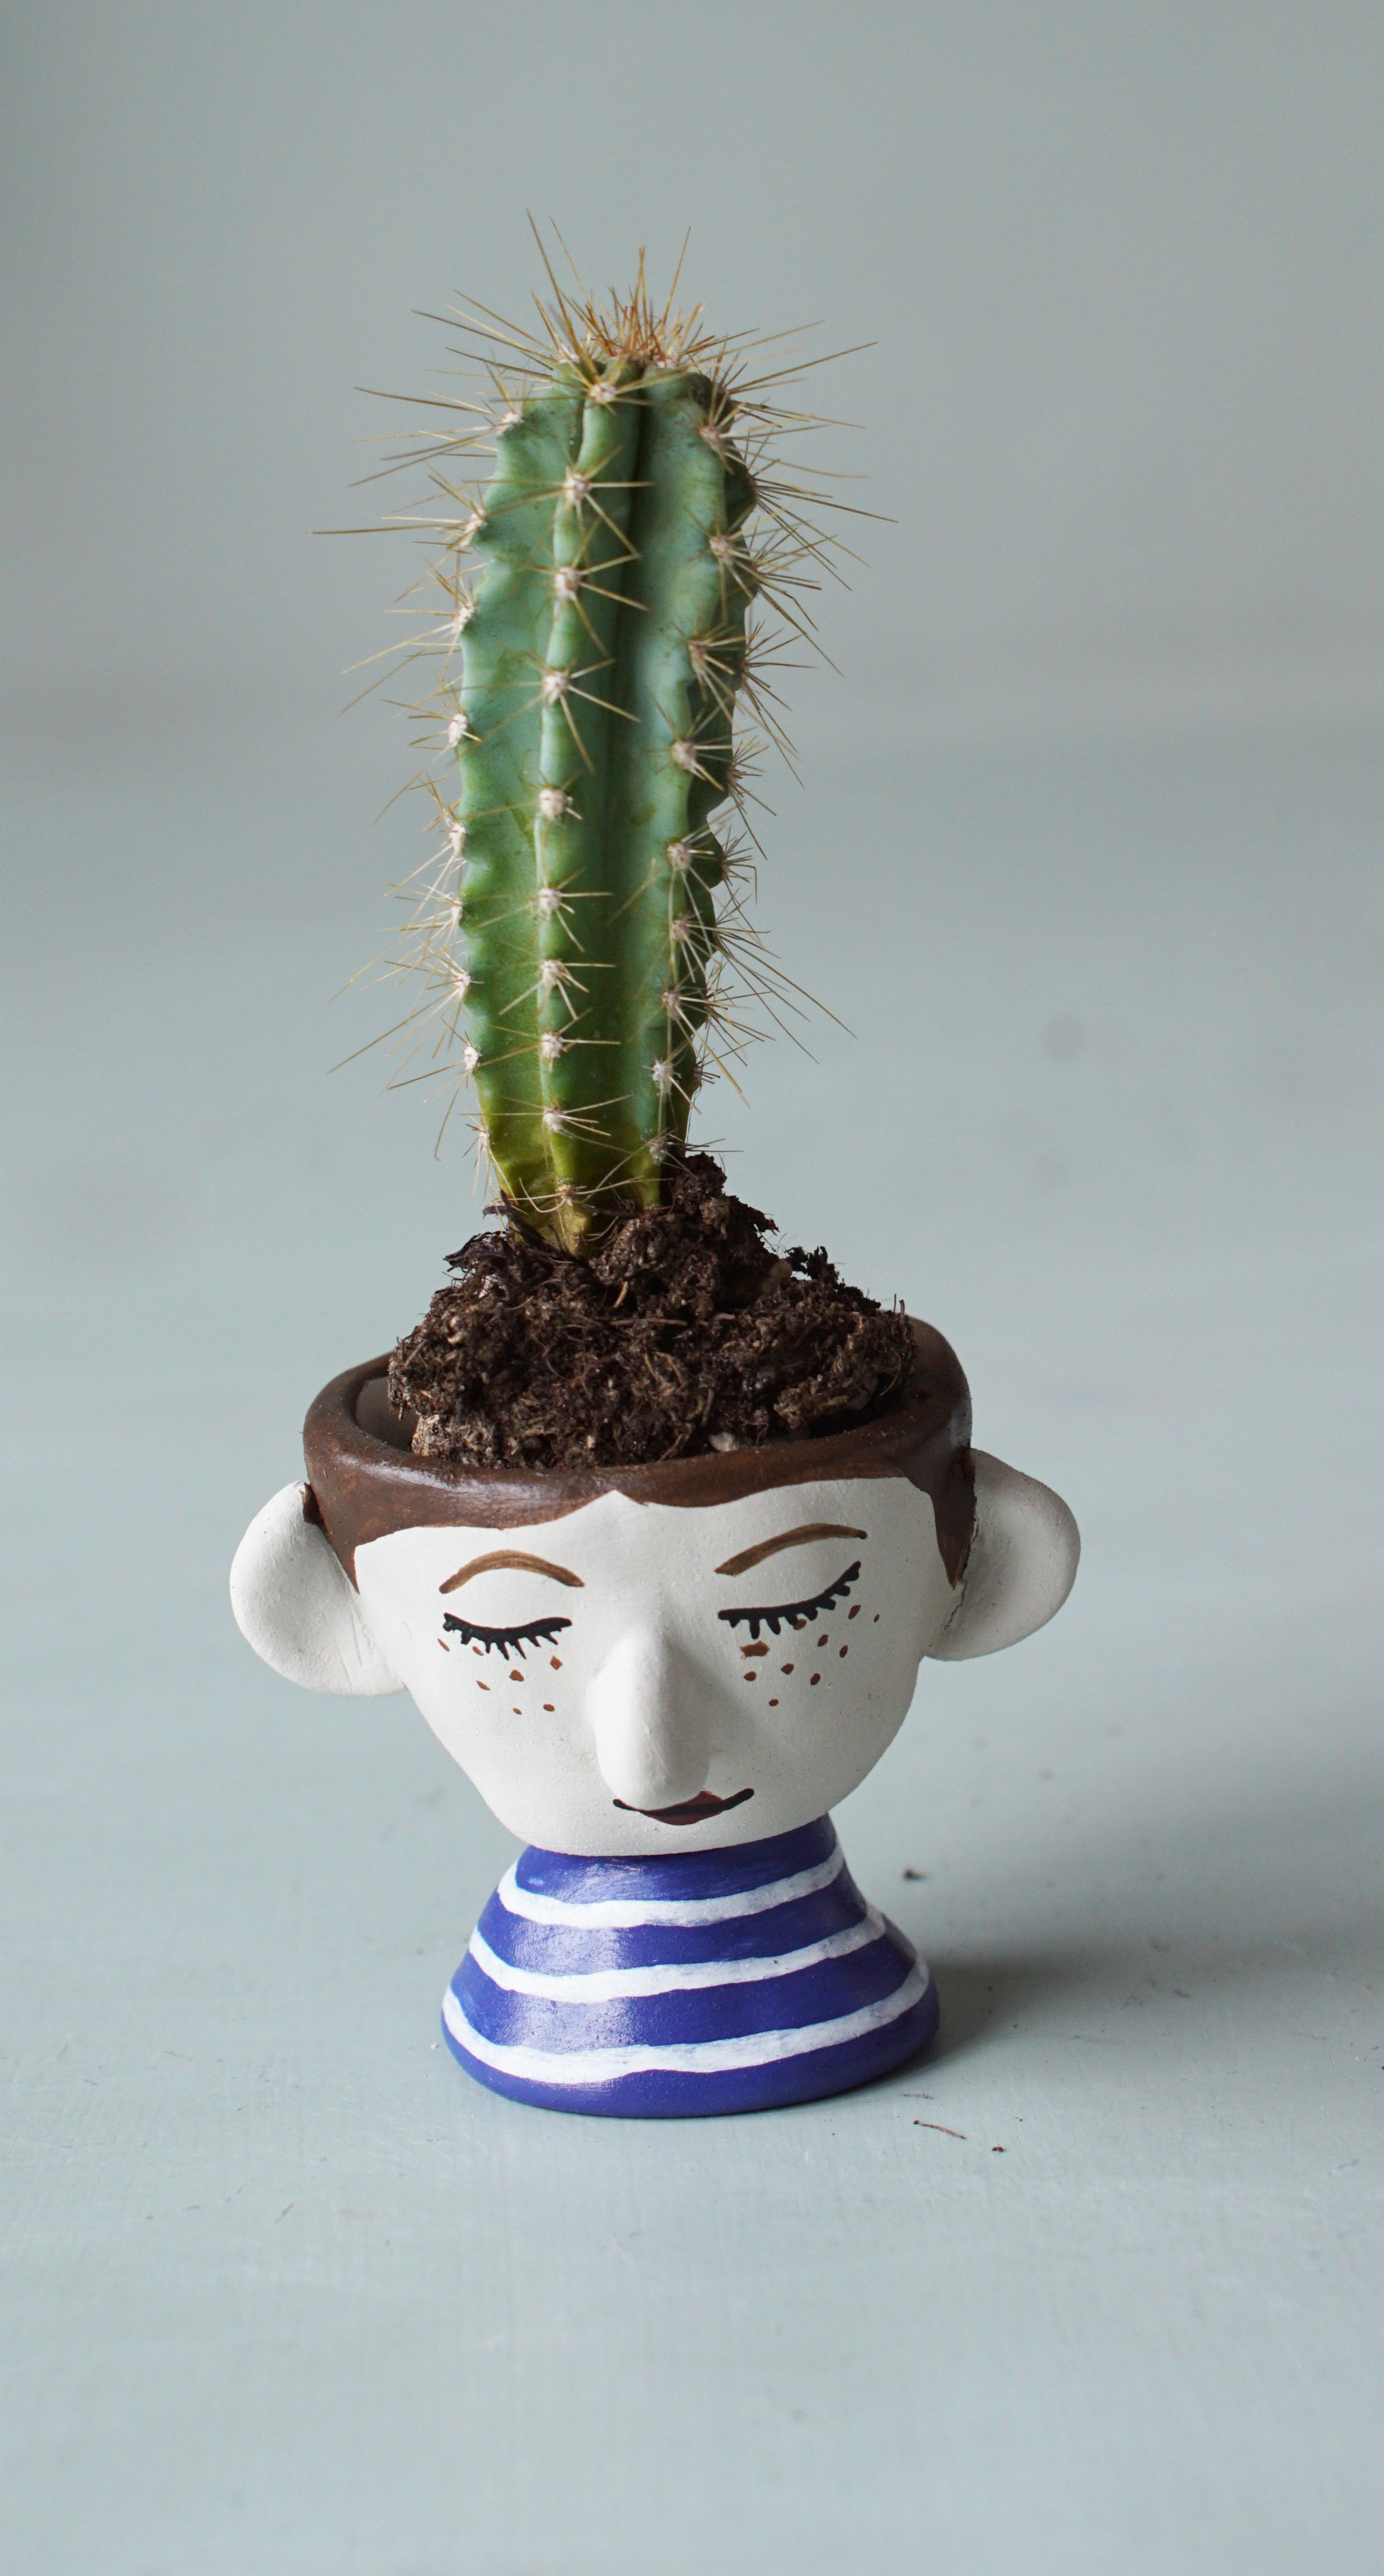
- Tu peux aussi utiliser ces coquetiers pour faire pousser de petites plantes grasses ou des cactus qui deviendront les cheveux de tes petits personnages.
Téléchargements
Produits Connexes
à lire aussi
@PEBEO Suivre Pébéo sur Instagram
Newsletter
Inscrivez-vous à notre Newsletter et restez informé de nos actualités. Pour en savoir plus sur la gestion de vos données personnelles et pour exercer vos droits, cliquez, ici
